Sam's is your source for Hatteras and Cabo Yacht parts.

Enter a part description OR part number to search the Hatteras/Cabo parts catalog:

Email Sam's or call 1-800-678-9230 to order parts.

1969 Chris Craft Roamer 46 refit

  • Thread starter Thread starter q240z
  • Start date Start date
  • Replies Replies 1,855
  • Views Views 737,935
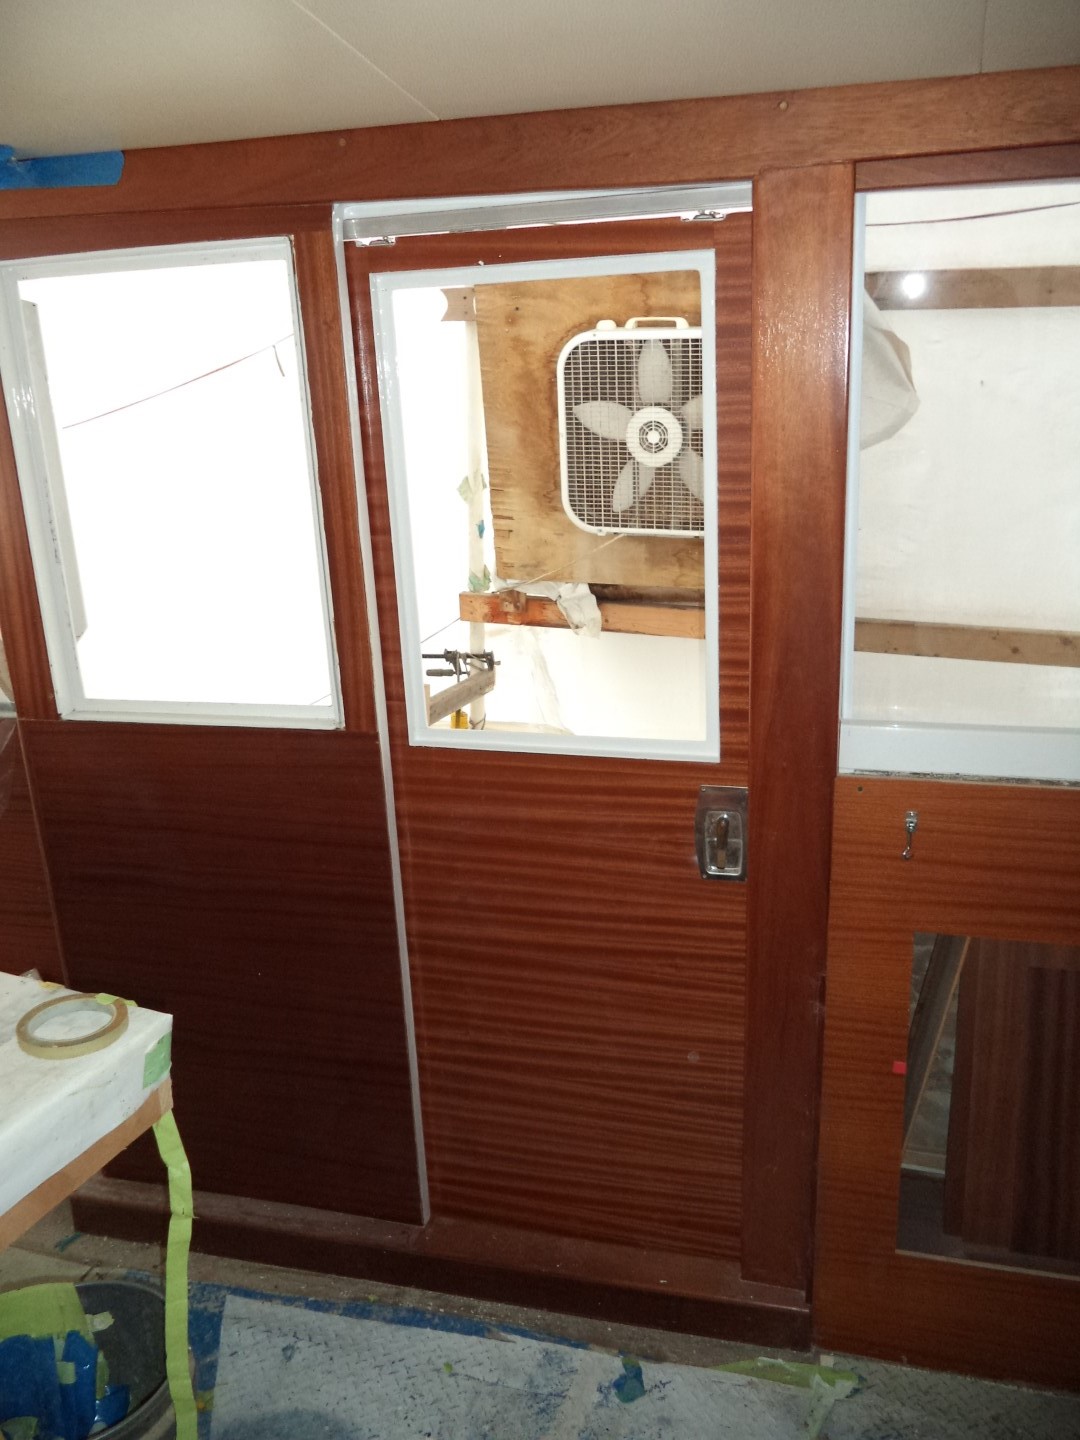
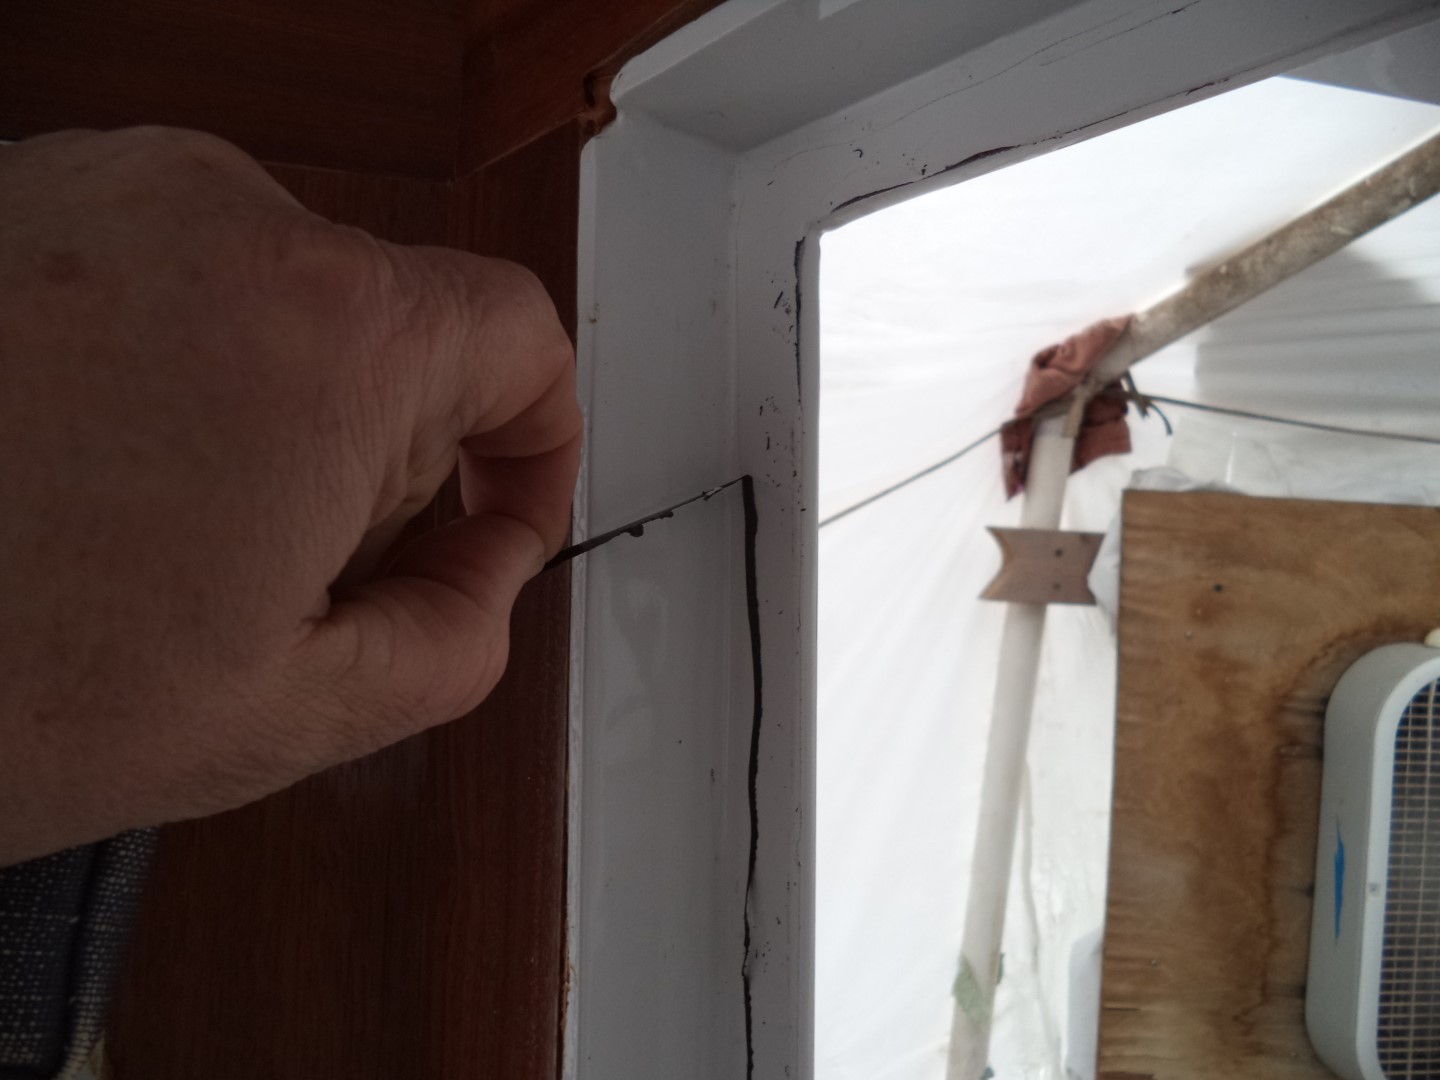
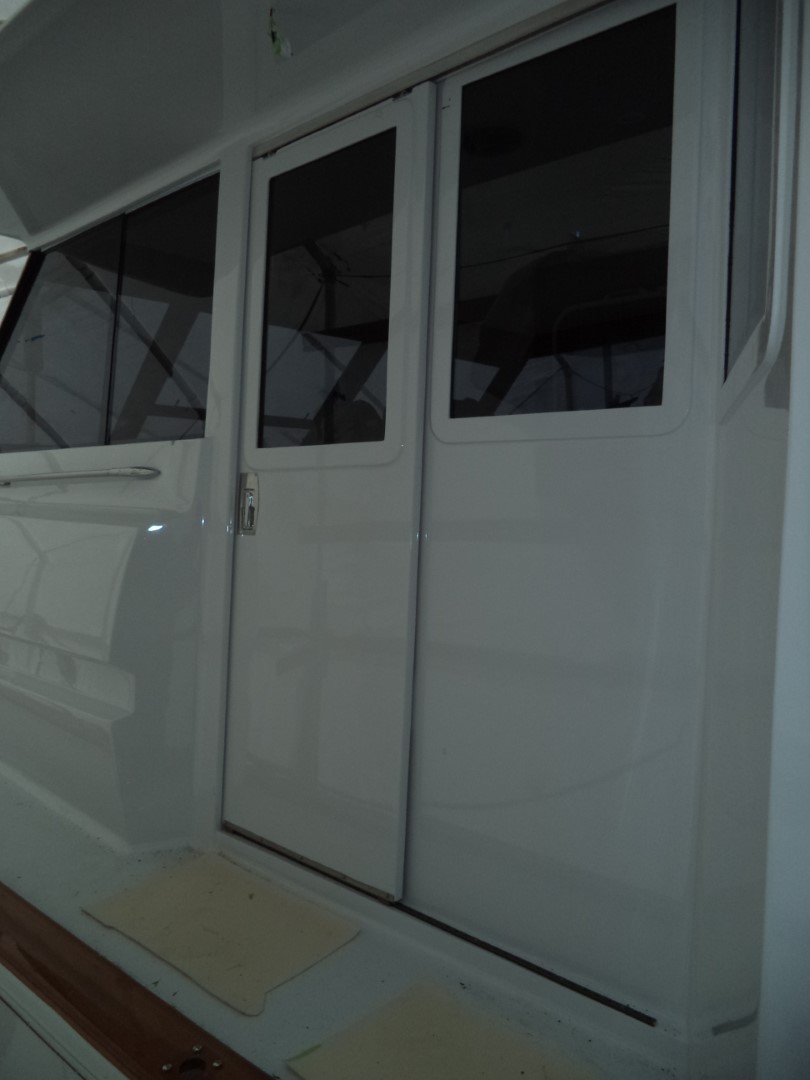
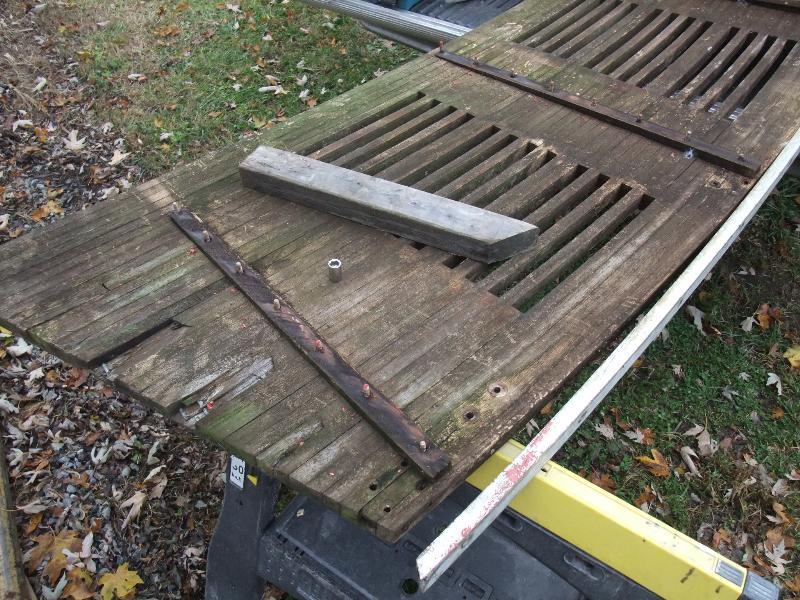
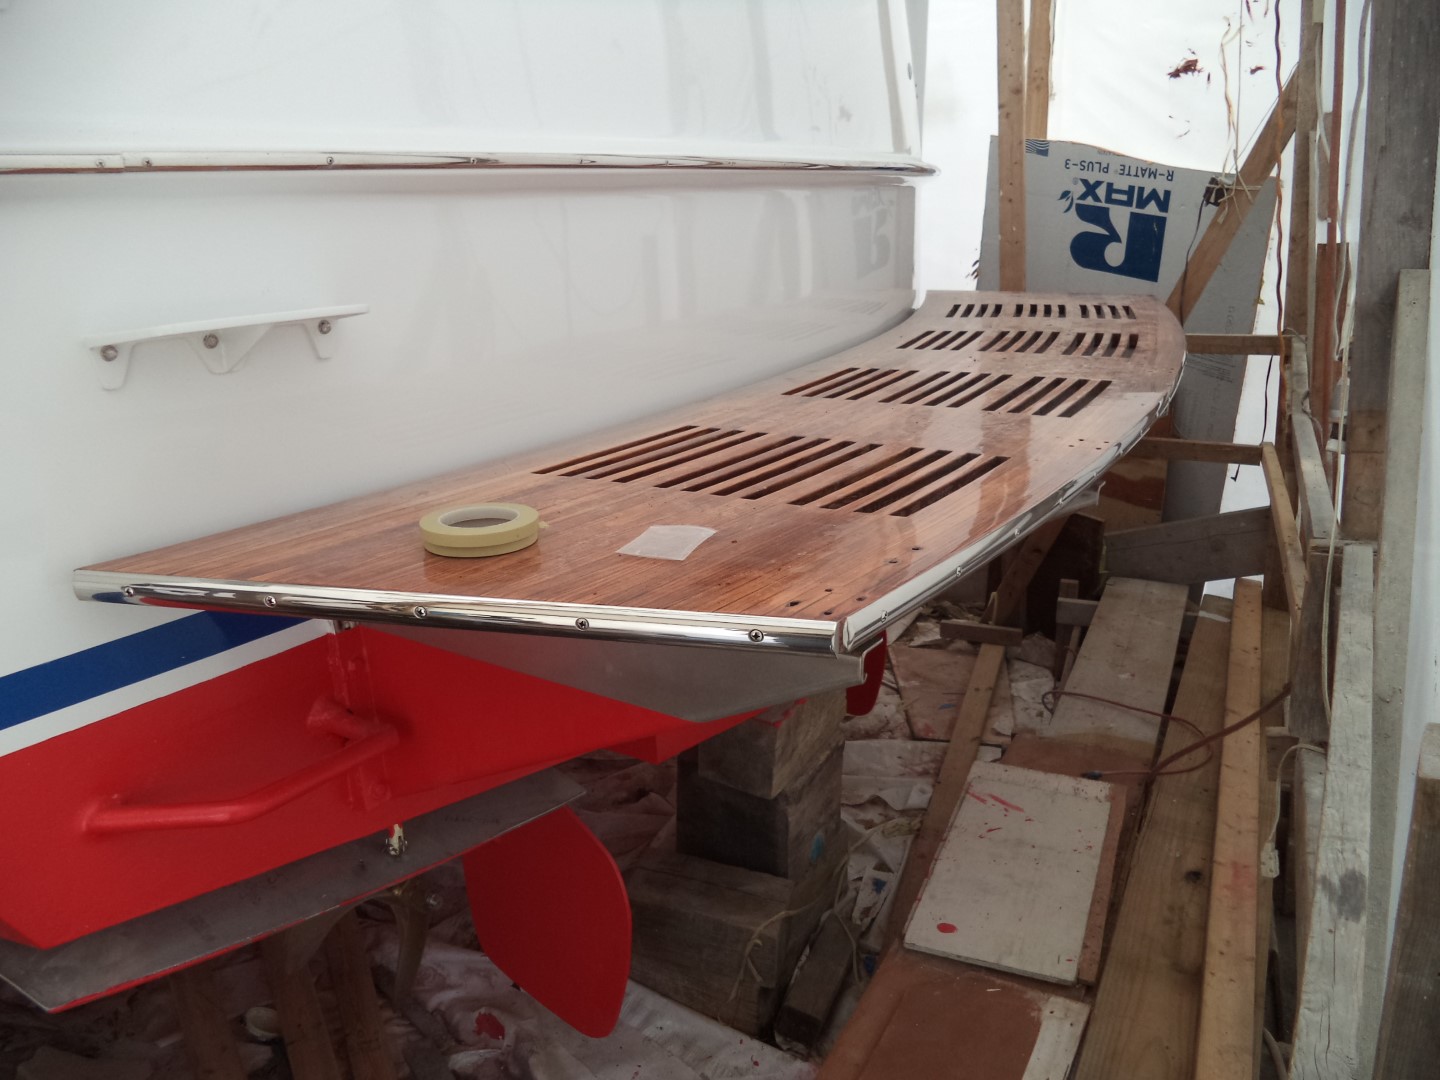
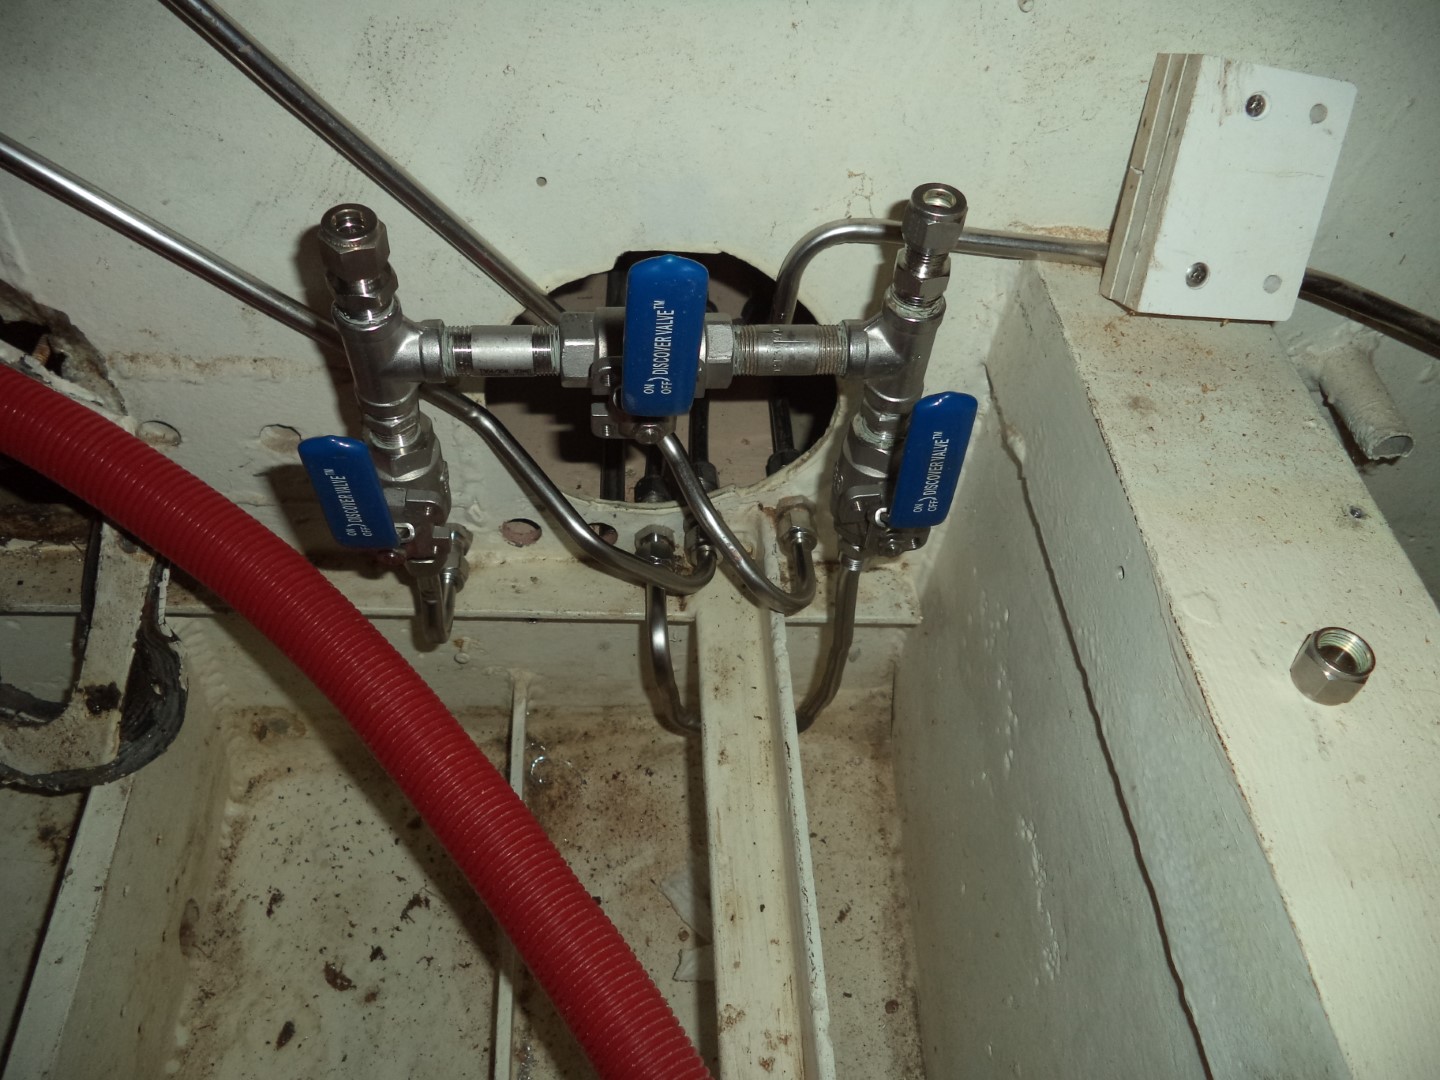
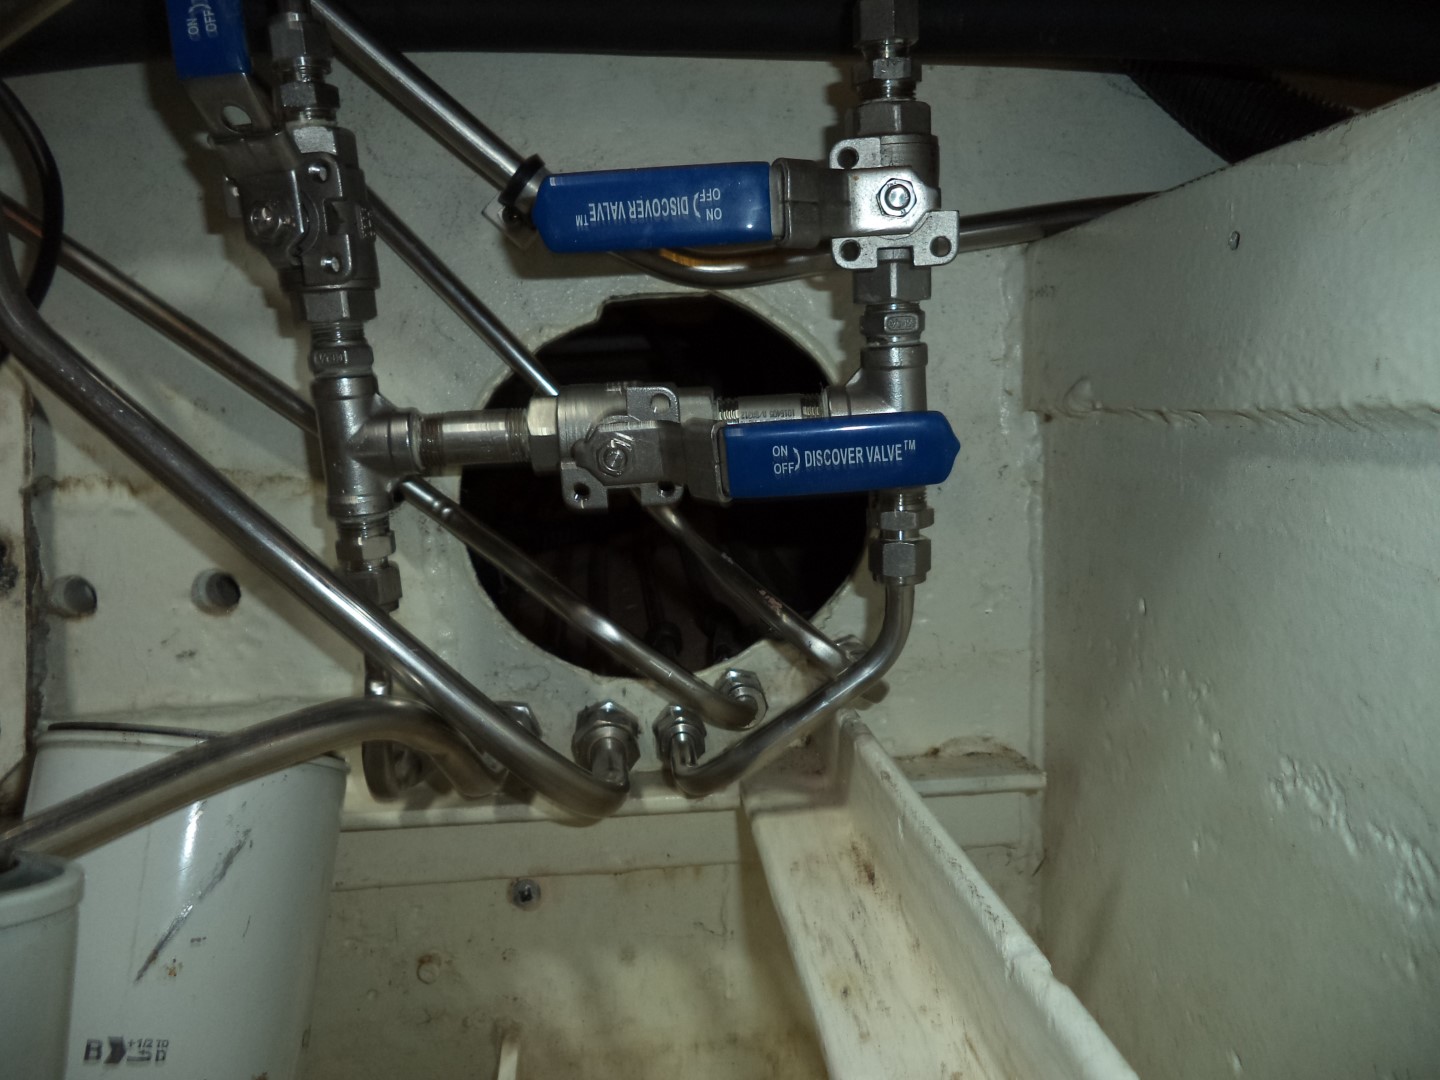
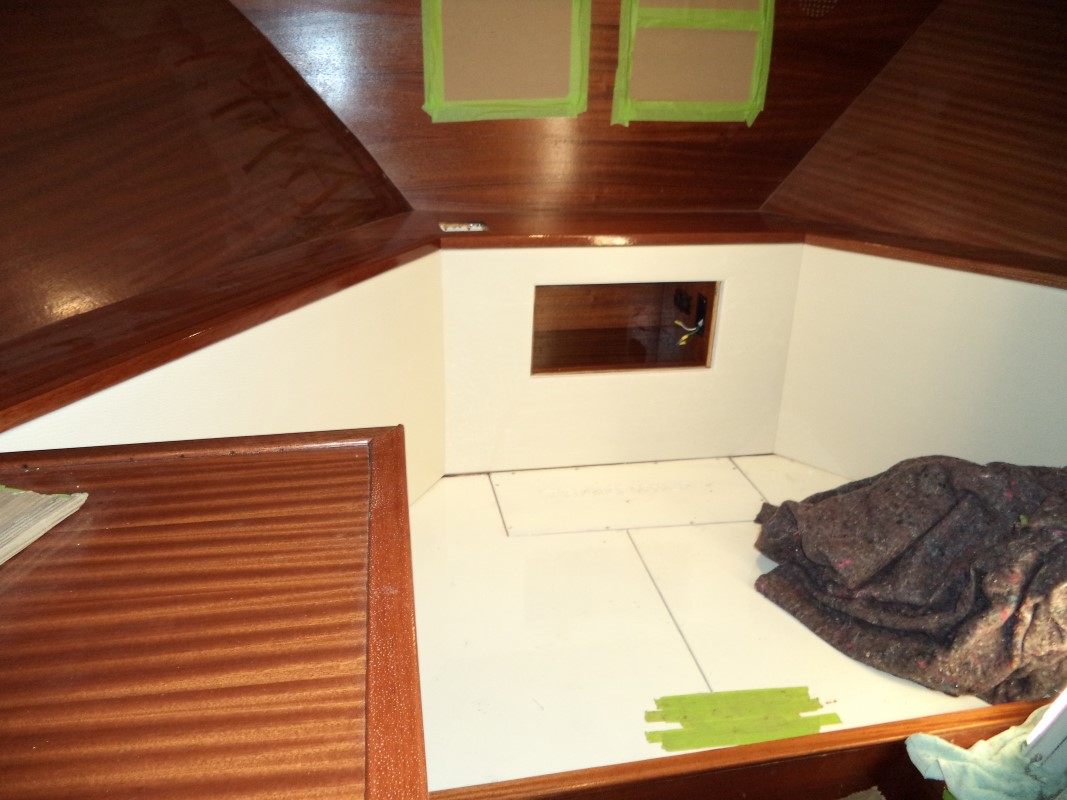
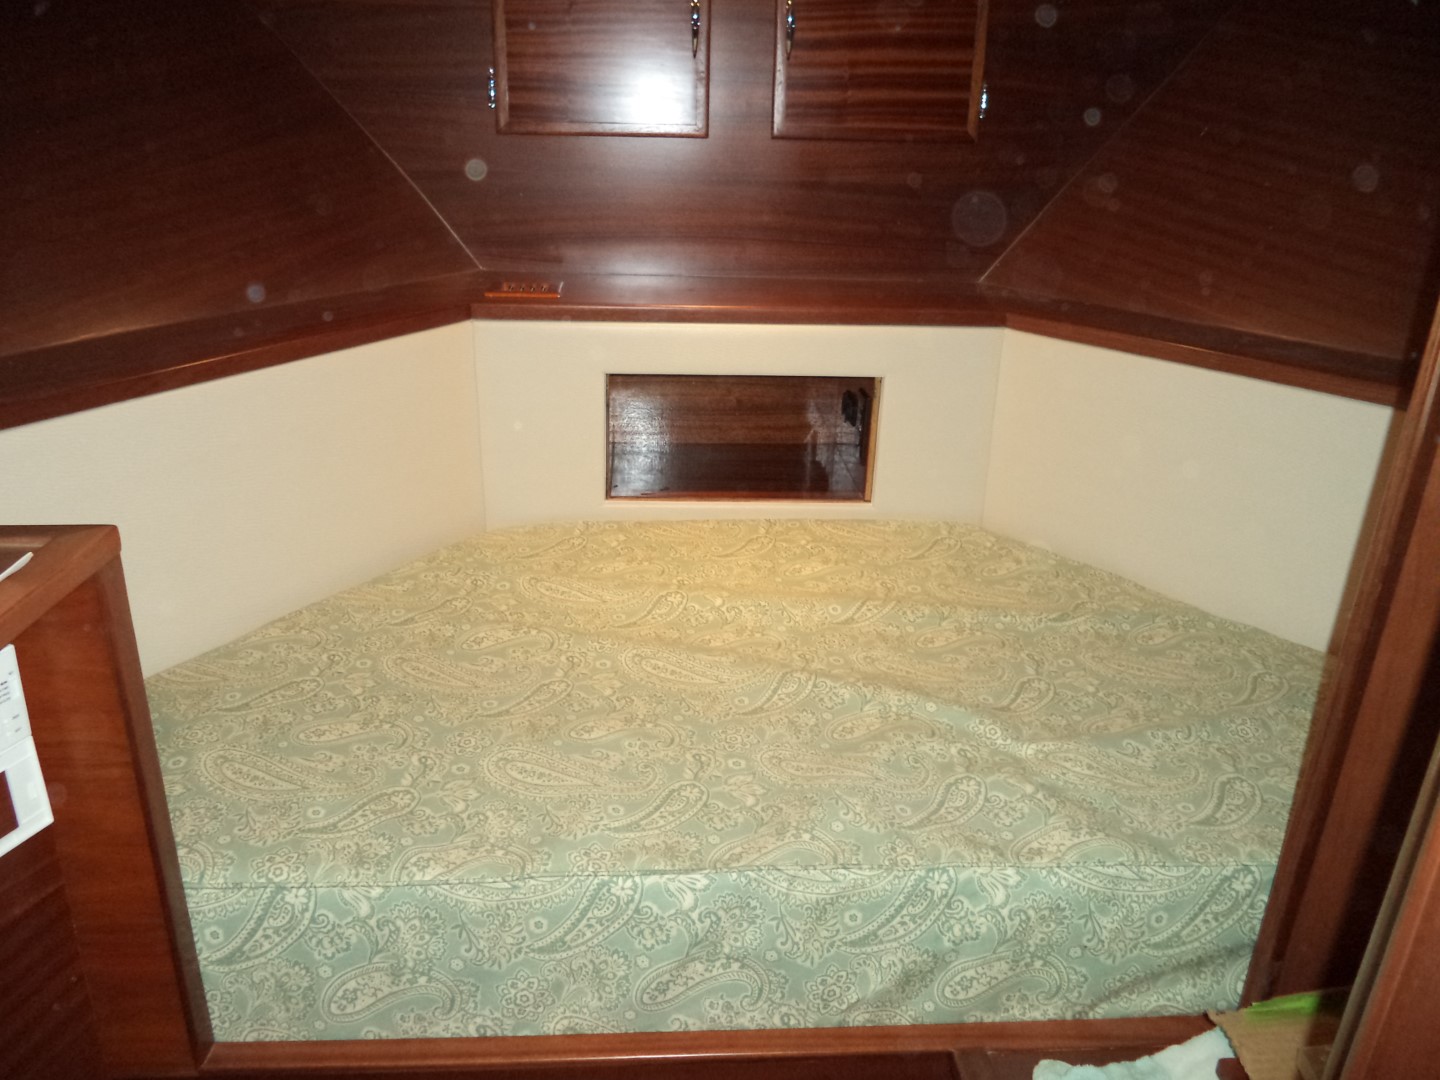
Welcome back, glad you are still at it and making progress. Let me know if I can come down and help you.
 
HA! That must be it, Dan! lol

Seriously, I've never had a boat engine start that quickly. Hell, even my car takes more cranking on the starter before it lights off. There must be magic in them medallions!
 
Good luck hopefully this is the year she sees splash down
 
Thanks rsmith! It looks like the second week of June, unless the surveyor nixes it for some reason.

I was so excited about the starboard engine lighting off and running perfectly that I posted the video of it a bit out of sequence. I wanted to go back and explain what's happened since November of last year as I dealt with leaking fuel that had to be fixed before I could try another test run.

When I tried to do the first engine test fire last fall, I found two major fuel leaks: one was a crack in the return fuel line coming off the injection pump; the other was at the mechanical lift pump on the engine. Cummins didn't design these engines with easy injection pump maintenance as an objective, and there's no way to replace the cracked return line without removing the injection pump from the engine. I came up with a workaround using a Swagelok fitting that I think will work just fine.

I also bought a new lift pump and painted it white before installing it. Now it's the prettiest part of the whole engine and gear. lol

1969 Chris Craft Roamer 46 Refit: Fuel System Fixes

Cheers,
Q

Before
dsc01382.jpg


After
dsc01620.jpg


dsc02480.jpg
 
Big News!

The surveyor comes tomorrow. If he signs off on splashing the boat, I'll pass his report on to the insurance company. If they approve splashing, the boat goes in the water as soon as I can get the tent out of the way. Should happen this week.

But, backing up a bit, I had five leaks show up in that brand new stainless steel fuel manifold I made a few months back. Turns out that pipe fittings made in China don't seal up like they should. So I took it all apart and redid the leaky joints using a Loctite product that came highly recommended by pipe-fitters who say it's the only thing that works on stainless fittings. While I had it apart, I also bent some new tubing because I was, frankly, a bit ashamed of the poor quality work I did when I first bent two of the stainless supply and return lines. The results are much better.

1969 Chris Craft Roamer 46 Refit: Fixing Fuel Supply Manifold Leaks

Cheers,
Q

Before (tube on the lower right that goes under the angle)
dsc09205.jpg


After
dsc02555.jpg
 
Bad news.

The surveyor didn't show as scheduled. He eventually contacted me to let me know he's in the hospital with heart problems. Priorities, right?!?! lol

We may have worked out a path forward that (hopefully) will involve an associate of his checking the boat out tomorrow. I checked out the last survey this guy did, and it took him ten days from inspection to sending me the report. So it looks like the window for launching will get pushed into next week.

That said, the missus got involved in the refit over the winter when I observed that the V-berth is pretty much done and could be used as a bedroom if only it had a mattress. She got right on it, and today I brought the mattress with a custom cover onboard. It turned out real nice, and was a small fraction of the cost of having an upholstery shop make it.

1969 Chris Craft Roamer 46 Refit: The Missus's Custom V-berth Mattress

Cheers,
Q

Before
dsc04814.jpg


After
dsc02560.jpg
 
Quentin, if you can't get your surveyor, try Derek Rhymes, All Boat & Yacht Surveys. He's done three or four for me.
 
Thanks Jim! I know Derek! He was the inspector for the insurance company after that storm a few years ago used my tent frames to beat up my new paint job!

But I have good news! The surveyor's colleague showed up today and was very impressed with what he saw. He'll get his updated report back to me next week and doesn't think the insurance company will find anything to prevent me from splashing.

But most of my blog post today is about a YUGE problem I found last fall that made it impossible to make my helm sliding doors work: the deck and lower door frame that's welded to it both slope down toward the transom. But the aft deck hardtop, which makes up the upper part of the door frame, is pretty close to parallel to the water line. So the top of the door frame and bottom aren't parallel. When I tried to install the door tracks last fall, there was a perfect 1/8" gap between the top of the leading edges of the doors and the upper guide track (that's screwed to the hardtop). But with the doors slid open, there was a 1-1/4" gap between the top of the aft door edges and the guide track.

After a bunch of scowling at the problem, I finally just broke out some thick mahogany lumber, fiberglass, and various Awlgrip products and modified the hardtop so the upper door frame was parallel with the bottom one. This was one of the additional things that made it impossible for me to launch last year. But the repair turned out quite nicely.

1969 Chris Craft Roamer 46 Refit: Aft Deck Helm Doors III

Cheers,
Q

Before
dsc00805.jpg


After
dsc01089.jpg
 
Can you wait until next weekend? I have to be away for a wedding this weekend. Just kidding. Good luck with it all, I hope splashing is SOON.
 
Can you wait until next weekend? I have to be away for a wedding this weekend. Just kidding. Good luck with it all, I hope splashing is SOON.

No weddings during boating season. Not allowed!!
 
Jim, isn't "disassembling a massive and filthy shrinkwrap tent" on your bucket list? I know it's on mine! lol

I've officially finished all of the mission-critical items on my pre-launch honey-do list. In preparation for splashing next week, I took my woodshop machines out of the tent and moved them back home. Then I removed compressor air lines and electric circuits I installed in the tent to distribute power. I'm tentatively planning to launch Friday, June 16, 2023.

But over the winter, I was still working on getting helm doors installed. After reconfiguring the door openings so they'd work with slider doors, I had the doors painted, installed the latch hardware, and then installed them. They look good.

1969 Chris Craft Roamer 46 Refit: Installing the Aft Deck Helm Doors

Cheers,
Q

Port helm sliding door
dsc02211.jpg


Starboard side
dsc09825.jpg
 
They looks great.

The wedding date wasn't my idea. But since it's my nephew, I HAVE to show up, or my sister will skin me alive. Happy to help out when I get back Sunday afternoon.
 
I won't be there on Sunday. The tentative plan is to dismantle the tent on Thursday and Friday. It all hinges on the surveyor giving me his report and the insurance company approving the splash. Because of the burglary a few years ago, I don't want the boat exposed on the hard for any more time than necessary

That said, I discovered a problem with the aft deck enclosure windows over the winter. The Boat Life caulk I'd used to bed them didn't bond well to the paint. Every single pane had a loose corner. On the upside, the weak bond made it easy to remove the windows so I could rebed them. I learned some tips and tricks from the professionals over at Weaver Boatworks and used Bostik 70-08A windshield adhesive, which they swear by. Six months down the road, and the glass is still properly adhering to both the glass and the painted frames. I suppose I should be pleased that I discovered the problem before splashing.

Oh, and I've got 2-1/2 tubes of leftover Bostik if anybody needs to bed some windows.

1969 Chris Craft Roamer 46 Refit: The Season of Do-Overs...Aft Deck Glass 2.0

Cheers,
Q

The Boat Life caulk doesn't adhere well to the paint.
dsc02220.jpg


Tinted glass looks great against the Matterhorn White Awlgrip.
dsc02271.jpg
 
Q, I would love to drive down to Maryland to look at your boat after you splash it. From all the pictures that you
have posted it looks better than factory new. You are truly a master.... Walt
 
Thanks Walt! You are more than welcome to come check it out. I hope to splash next Friday, but I'll keep this thread updated as to the status.

That said, the last item on my must-do pre-launch punch list was installing hull strainer scoops for the main engine raw water intakes. Groco makes a nice scoop in aluminum, with little access doors so you can clean out anything that accumulates in the strainer or intake standpipe. I decided to attach mine with screws and caulk rather than welding them on, since I'd rather have all of the underwater aluminum barrier coated and bottom painted.

1969 Chris Craft Roamer 46 Refit: Installing GROCO Hull Strainers

Cheers,
Q

dsc02348.jpg
 
With all of the mission critical items checked off my pre-launch punch list, like sealing up all holes in the hull that will be underwater shortly, I started working on slightly less critical items. Making sure stainless rub rails were installed all around was one such item, since pilings can rip up a paint job in no time. I also need to protect the teak swim platform. All of the marinas in my area have very short finger piers, so you have to back into the slips. With ~15 tons moving at even a very low speed, if I botch the landing and have direct contact between pilings and the teak swim platform it could be disastrous.

So I got some 1-1/4" solid back stainless rub rails and polished them, and the heads of the screws I'll use to attach them, to a super shiny finish. The platform looks a helluva lot better than what we started with.

1969 Chris Craft Roamer 46 Refit: Swim Platform Rub Rail

Cheers,
Q

Before
dscf4900.jpg


After
dsc02456.jpg
 
I don't back into my slip anymore. I know some people consider going bow-in to be bad form, but I often go sit on the back of the boat and have a drink and relax after work. I like the improved view and privacy factor from having the back porch face outwards. You'll get over wanting to back in soon enough.
 
I've done bow in and stern in and find they've both got their pros and cons depending on the marina. But as I mentioned, all of the marinas in my area have very short finger piers, so you have to back into the slips. The slip I'll use in the current marina has 12' finger piers, and they taper down to the width of the piling at the end, so there's no room for steps. The ones in my soon-to-be home port are only 6'! If I parked bow-in there, I'd have to scale my bow railing and need a very tall staircase for boarding.
 
Thanks Dan!

In my quest to get all of the above-the-waterline thru-hulls attached to hoses, pumps, or whatever appliances they service, the ones servicing the bilge pumps were a top pre-splash priority.

Chris Craft did a strange thing with these boats: they'd cut NPT threads for hose barbs then weld the various thru-hull pipes to the hull. But the mechanical team would come along and just install the hoses directly on the pipes rather than threading on proper hose barbs. Water inevitably gets into the threads and starts eating the bare aluminum. They also didn't barrier coat inside these pipes. So I cleaned up all the white aluminum oxide powder using wire brushes and an NPT die, barrier coated everything, then installed proper hose barbs with Gasoila sealant before installing new bilge pumps and hoses.

I also wrapped up the Panda generator installation with some big 304 stainless fittings that attach the 1-1/2" dry exhaust hose to the OEM Chris Craft genset exhaust thru-hull. It turned out very nice.

1969 Chris Craft Roamer 46 Refit: Bilge Pumps & Panda Exhaust Wrap-Up

Cheers,
Q

Aft compartment bilge pump
dsc02552-1.jpg


Panda genset exhaust plumbing
dsc01954.jpg
 

Forum statistics

Threads
38,156
Messages
448,741
Members
12,482
Latest member
UnaVida

Latest Posts

Trending content

Back
Top Bottom