q240z
Legendary Member
- Joined
- Nov 12, 2008
- Messages
- 1,678
- Status
- FRIEND
- Hatteras Model
- Not Currently A Hatteras Owner
You can never have too many boats, Jim! lol
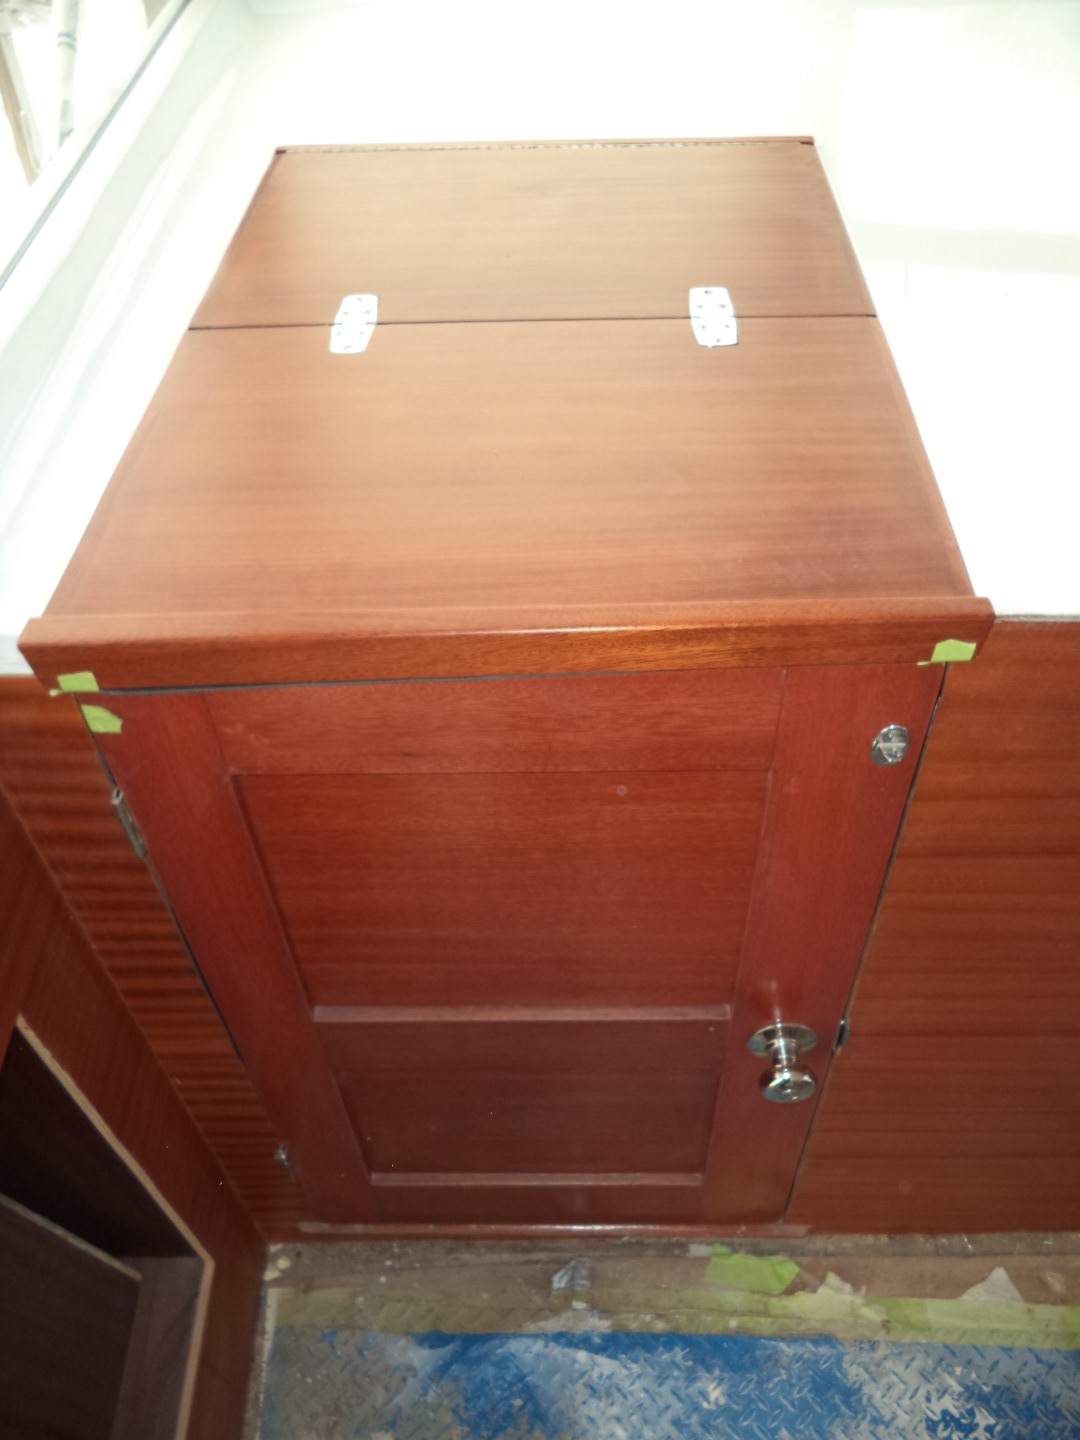
I'm still clearing out pictures from my camera's memory card of stuff I did a while back. Today's post covers final installation of the salon entry door.
A surprising challenge popped up when I tried to get new keys made for the original Schlage lockset. None of the brick and mortar "locksmiths" in my area have the ability to cut a new key without an existing one to copy. I finally found a retired hippy locksmith who hand-filed a key in about 15 minutes in the back of his old work van. Anyway, compared to what I started with, I think this looks terrific.
1969 Chris Craft Roamer 46 Refit: Wrapping Up the Salon Entry Door
Cheers,
Q
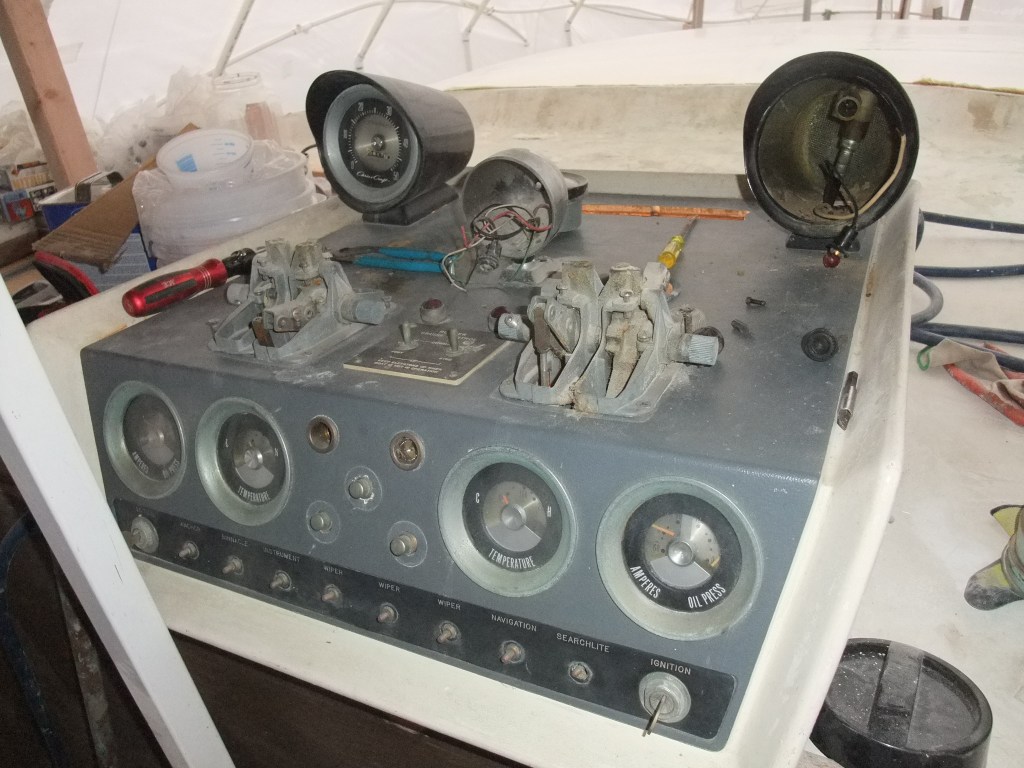
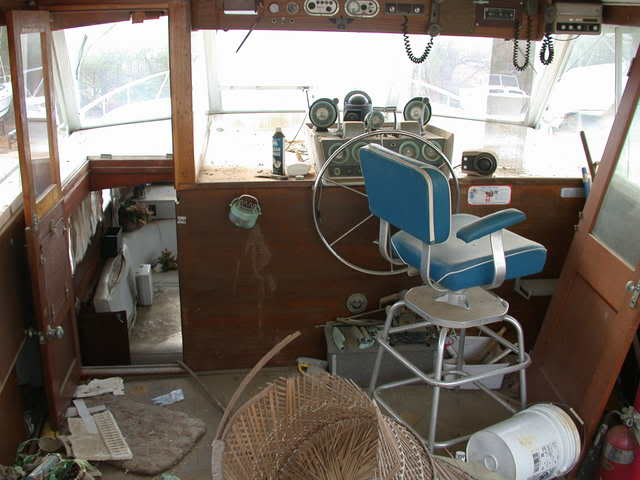
Before
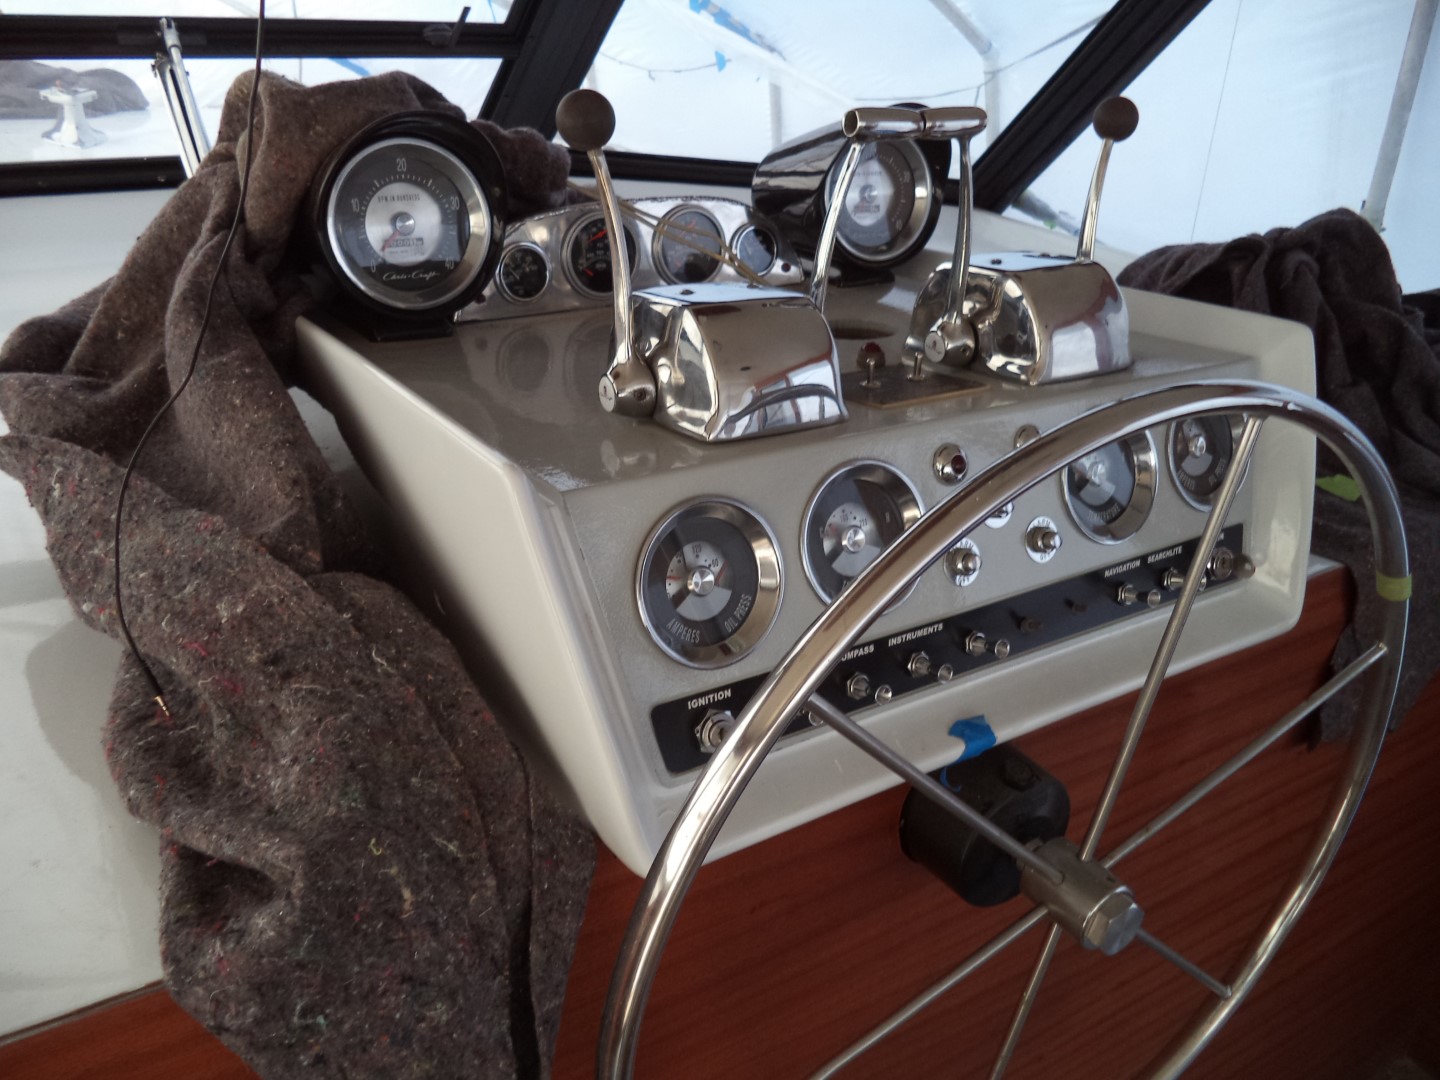
After
I'm still clearing out pictures from my camera's memory card of stuff I did a while back. Today's post covers final installation of the salon entry door.
A surprising challenge popped up when I tried to get new keys made for the original Schlage lockset. None of the brick and mortar "locksmiths" in my area have the ability to cut a new key without an existing one to copy. I finally found a retired hippy locksmith who hand-filed a key in about 15 minutes in the back of his old work van. Anyway, compared to what I started with, I think this looks terrific.
1969 Chris Craft Roamer 46 Refit: Wrapping Up the Salon Entry Door
Cheers,
Q
Before
After