Sam's is your source for Hatteras and Cabo Yacht parts.

Enter a part description OR part number to search the Hatteras/Cabo parts catalog:

Email Sam's or call 1-800-678-9230 to order parts.

1969 Chris Craft Roamer 46 refit

  • Thread starter Thread starter q240z
  • Start date Start date
  • Replies Replies 1,855
  • Views Views 737,937
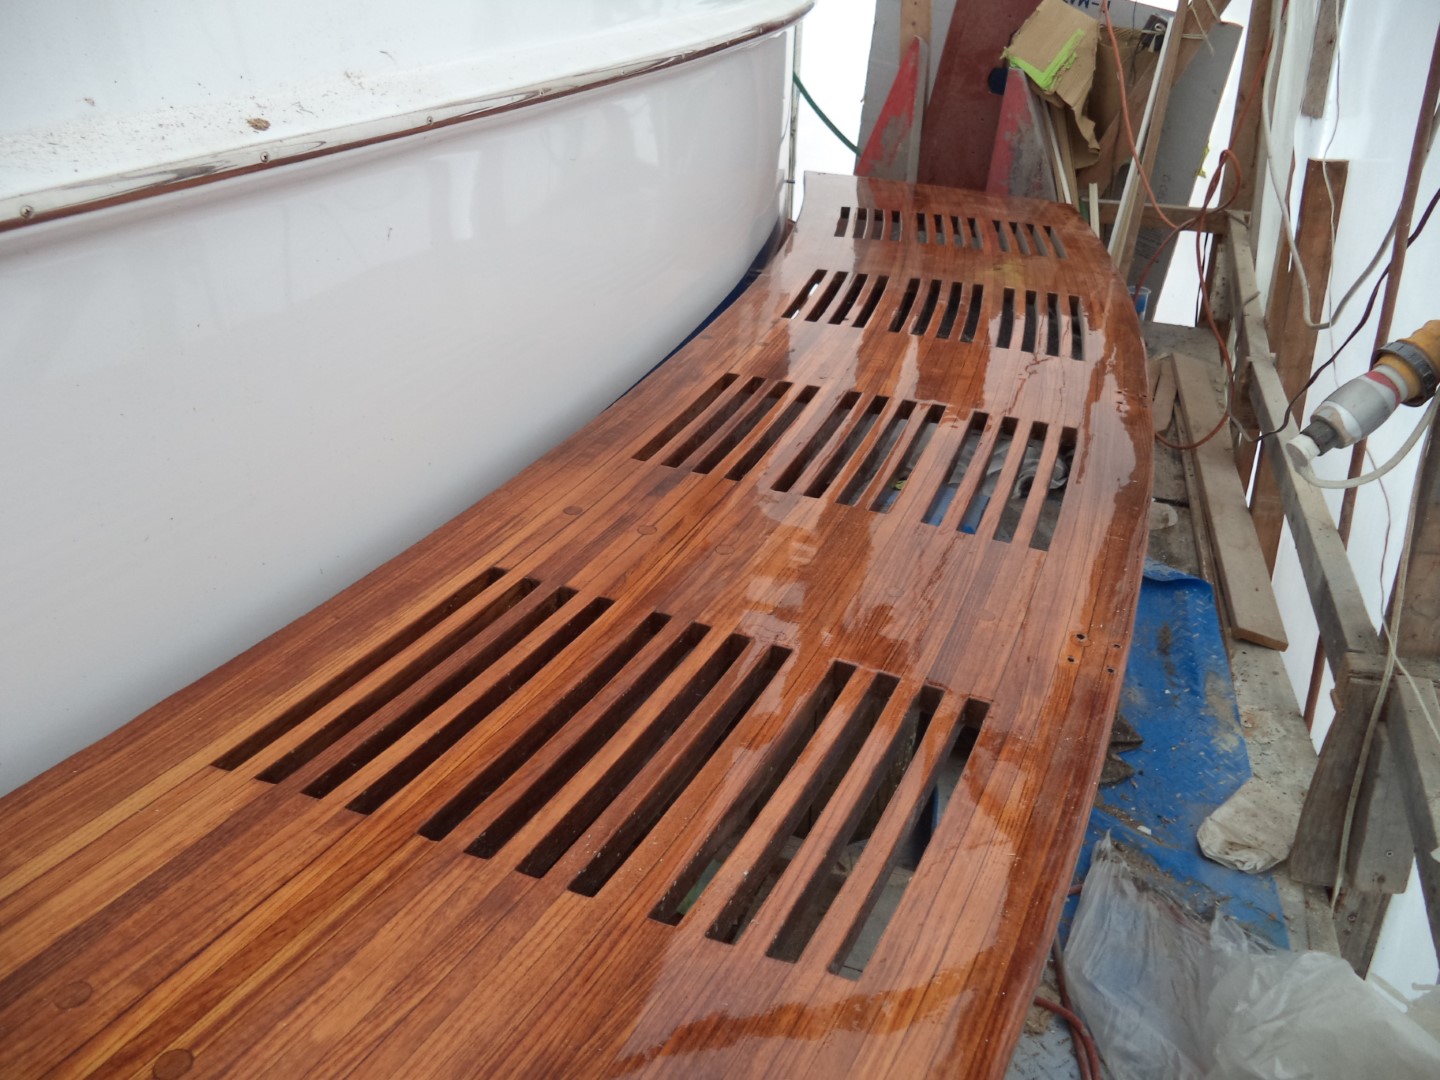
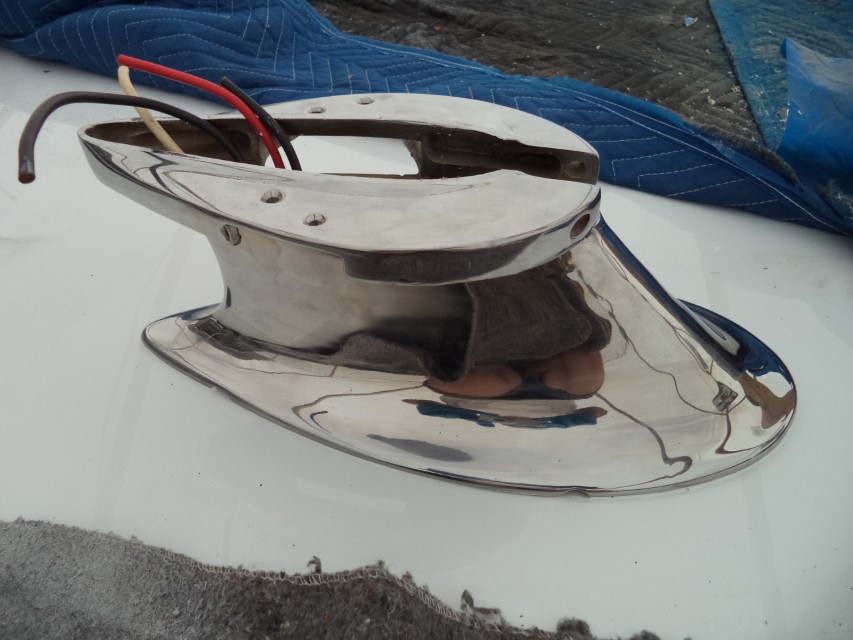
This is an amazing piece of work, the vent tubes. Beautiful.

I have Isspro tachs, four of them, on my boat. Worked perfectly right out of the box. Isspro items in cars, too.
 
Absolutely brilliant
 
Thanks!

In addition to the parts Isspro provided to solve my cable drive tach issue, I've also got their Turbocator gauges for exhaust temp and boost. They're very attractive. Still have to get them installed before splash day...
 
October is coming up fast, but I'm checking off pre-splash priorities pretty quickly.

Making the bottom water-tight and the topsides weather-proof are my top priorities now. And with the aft stateroom vents finally installed, I was able to install the pretty mahogany panels surrounding them. Then I permanently installed 12 of the 14 portholes that have been done and awaiting installation since 2016. They look great!

1969 Chris Craft Roamer 46 Refit: Installing [most of] the Portholes

Cheers,
Q

dsc00222.jpg


dsc00323.jpg
 
Closing up all of the holes in the hull that will be underwater when the boat splashes is my top priority. The biggest holes are where I need to weld in the raw water intake standpipes for the Cummins 6CTAs. But the most numerous holes are on the transom, where the swim platform supports will attach to the hull with a bunch of 3/8" stainless bolts.

I did all of the cosmetic work to the teak swim platform back in 2016. It's been sitting behind the boat, ready to install, since then. So I wrapped up some tapered spacers I need for the stainless platform supports, broke out the caulk gun, and installed the stainless and teak platform. That's ~40 holes below the waterline that are now water-tight. And the teak looks gorgeous mounted back where the goddess of the seas intended.

1969 Chris Craft Roamer 46 Refit: Installing the Swim Platform

Cheers,
Q

dsc08745.jpg
 
that is beautiful......but....i bet it is slippery when wet
 
I'll bet you're right. The steps going to the salon and aft stateroom will also be slippery.

I've been kicking around an idea for a few years involving a dusting of non-skid in a coat or two of varnish...maybe in just a couple strips rather than doing the whole surface.
 
I've seen it done, and it does work, also it looks duller than the area around it, so you can see where to step.
 
A technique we used on my nonskid was to apply it mixed into AwlGrip, which gives a savage nonskid coating that'll take skin off, then rolled on a single coat of AwlCraft2000 12 hours later. That knocks down the roughness a bit and gives it a bit of a topcoat shine, but with plenty of grip. That's the process they developed for Weaver sportfishermen.

I'm thinking we'll try the same with MS1 on the teak swim platform and steps, but with stripes.
 
I have done my decks with nonskid mixed right into the roller pan several times. A little of it goes a long way. I don't use flattener, and I do two coats, about eighteen hours apart. As usual in any kind of painting, prep is key. The deck has to be squeaky clean and completely degreased, and masked AFTER you do all that cleaning. Last year I masked and then did the prep and degreasing; solvent crept under the tape and the finished paint peeled from the edges. This year I washed and degreased the deck, sanded, and washed and degreased again, and then masked and painted. Holding up nicely.
 
Preparation is everything...or so they tell me.

I'm still working toward splashing this month. Getting exterior holes sealed up is my current priority. I filled a whole bunch of them by installing the stanchion bases, fairleads, and fresh water fill on the mahogany toe rail. I had all of those original bronze pieces rechromed and sitting in a box since 2016. It's nice to finally have them back where they belong.


1969 Chris Craft Roamer 46 Refit: Installing Rechromed Deck Hardware


Cheers,
Q


dsc07554.jpg
 
I buttoned up four more holes on the cabin top by installing the chromed bronze mast base. That has the practical effect of getting the boat closer to weather-tight, and it's pretty, too. It's also nice to finally move stuff that's been taking up space in storage back to the boat, where it belongs.


1969 Chris Craft Roamer 46 Refit: Installing the Mast Base


Cheers,
Q


dsc07010.jpg
 
Next, I started working on closing up holes in the engine room; in this case, the raw water inlet for the air conditioners. By "closing up," I mean getting the raw water pump installed so I can connect the strainer/seacock to the pump with a hose. I had a big 3000gph Dometic pump that I was going to use, but after looking over the spec sheets for the AC units, I realized I only need 1000gph. The electric requirement drops from 6 amps for the Dometic unit to 1 amp for a March 1000gph pump.


Anyway, I finally got the platform built for the pump and distribution manifold, and got it installed. The distribution manifold is made of Schedule 80 PVC Tees, close nipples, and hose barbs, and is attached to the pump platform with some 316 stainless pipe straps I whipped up from stainless leftovers I had laying around.


1969 Chris Craft Roamer 46 Refit: Air Conditioning Raw Water Supply


Cheers,
Q


dsc00031.jpg
 
Ha! I'm also making fewer trips to the grinder to clean up the tungsten after sticking it into the puddle. lol

The pros recommend NOT grinding a bunch of tungstens in advance, so it forces you to stop, leave the table, grind the tungsten, then return and get set up again before you can continue. It's basically a 'learn through punishment' model, where you intentionally inflict a punishment for each individual offence, and the natural tendency toward punishment avoidance induces you to not do the behavior that brings on the punishment. Which in this case is sticking the tungsten in the puddle or contaminating it with the filler rod when you dab.
 
Seems like a lot of learning is through punishment, either by yourself or someone else.
 
Well, the boat's not splashing in October.

I don't post articles to my blog (or link to them here) in real-time, so the boat's actually a lot farther along than what I've shared publicly so far. But problems keep popping up that take time to resolve, which I'll write about in the future, and they've killed my grand plan for an October 2022 launch. But I haven't given up hope and am now aiming for November.

Anyway, I installed the aft stateroom air conditioner. It was nice to finally get it out of my garage, where it's been sitting since 2018, and in its new home inside the boat. That allows me to connect a raw water hose to it from the pump and manifold I wrote about recently, and another hose from the AC unit to the thru-hull that takes it off the boat.

There are six raw water circuits in total that I want completed before the boat splashes: two main engines, one genset, and the three AC units. So that's one raw water circuit down, five to go.

1969 Chris Craft Roamer 46 Refit: Installing the Aft Stateroom AC Unit

dsc00477.jpg
 
Problems keep popping up that are delaying splashing the boat. I'm dealing with those as fast as I can, and fortunately the weather is cooperating. But I'm also checking off items on my pre-splash honey-do list.

I want to have all of the raw water circuits finished before I splash. Raw water circuits involve inlets for the water the boat is floating in, some sort of mechanism that needs raw water, and the outlet for the raw water after it passes through the mechanism. On this boat, that’s two main propulsion engines, one generator, air conditioners, and two toilets. I want all of the raw water circuits done before I splash the boat, because failures in raw water circuits are the main reason why boats sink.

This time, I got the salon air conditioner installed, including running new Shields 200 Series 5/8" hose from the raw water manifold I made recently to the aft stateroom and salon AC units. The installation went well, and I'm moving onto other things. Hopefully, the boat will be splashed this month.

1969 Chris Craft Roamer 46 Refit: Installing the Salon AC Unit

Cheers,
Q

dsc09849.jpg
 
Everything looks great as usual. I would put a pan under the A/C unit to catch condensation. It may be hard to drain though. Even on my separate evaporation units that come with built in drain pans , I make a separate pan out of fiberglass sheet and drain it separately.
 
Thanks!

Flagship Marine AC units come with built-in condensate pans. I wrote about that in the linked blog article. They also use modern compressors (scroll, IIRC) that get warm when operating, and insulation on tubing and other parts that get cold, so condensation on other parts of the system simply doesn't happen like it would on the old OEM piston compressors. The evaporator is the only thing that gets condensation, and it's got the OEM pan under it. I don't think another pan would serve any purpose.

Cheers,
Q
 

Forum statistics

Threads
38,156
Messages
448,746
Members
12,482
Latest member
UnaVida

Latest Posts

Trending content

Back
Top Bottom