Scarlett
Legendary Member
- Joined
- Dec 10, 2015
- Messages
- 1,938
- Status
- OWNER - I own a Hatteras Yacht
- Hatteras Model
- 53' MOTOR YACHT (1969 - 1988)

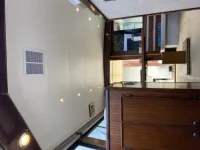
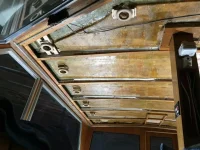
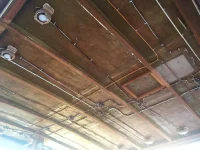
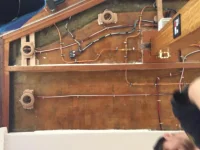
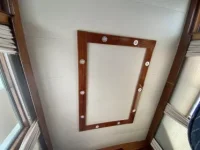
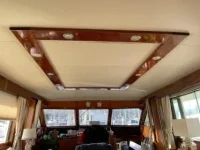
Literally just replaced our headliner. Went with solid, no pinholes. For lighting we went Imtra due to the highly great reviews. Can see why now that they are in. Dimmable with a dimming controller. If it gets confusing I can help. Was easy for me since I’m a controls contractor.
Picture is sideways of course.