


I was interested in buying a 60 ft Roamer at one time , someone beat me to it . But I saw the survey , it had an active CAPAC system verses a passive monitor. The system ran away blowing all paint off the bottom in two places . No paint in these two 3-4 ft diameter circles . The aluminum bottom was reduced to about 1/8 inch from 1/4 inch in these places also . I havent heard much talk about this over the years.
Welcome to the Hatteras Owners Forum & Gallery. Sign Up or Login
+ Reply to Thread
Results 1,641 to 1,650 of 1855
Thread: 1969 Chris Craft Roamer 46 refit
-
12-10-2022 11:09 AM #1641
- Join Date
- Jun 2012
- Posts
- 520
Re: 1969 Chris Craft Roamer 46 refit
JMooney
61 MY 1983 #341
Jerrie
Miami , FL
-
12-10-2022 05:44 PM #1642
- Join Date
- Nov 2008
- Posts
- 1,677
Re: 1969 Chris Craft Roamer 46 refit
The original 1962 CAPAC manual that a buddy sent me has an entire section devoted to warning against thinking that if a little CAPAC is good, more must be better. I wouldn't be surprised if the system didn't "run away" so much as an owner didn't read the manual and cranked up the adjustment screw and buried the needle on the high side. This was apparently a real problem back in the day. The manual is very clear that doing that will result in exactly the things you mentioned.
A current CAPAC manual I found includes instructions to install a thick layer (>22 mils) of epoxy mastic in a minimum 13" radius circle around the anode.
Oh, and I believe the bigger Roamers had 3/8" hull plating if they were aluminum. They used 1/4" on my 46 and smaller models. If a 60 wasted down to only 1/8, that system was dialed up hot for a while. What a shame.
-
12-12-2022 02:30 PM #1643
- Join Date
- Nov 2008
- Posts
- 1,677
Re: 1969 Chris Craft Roamer 46 refit
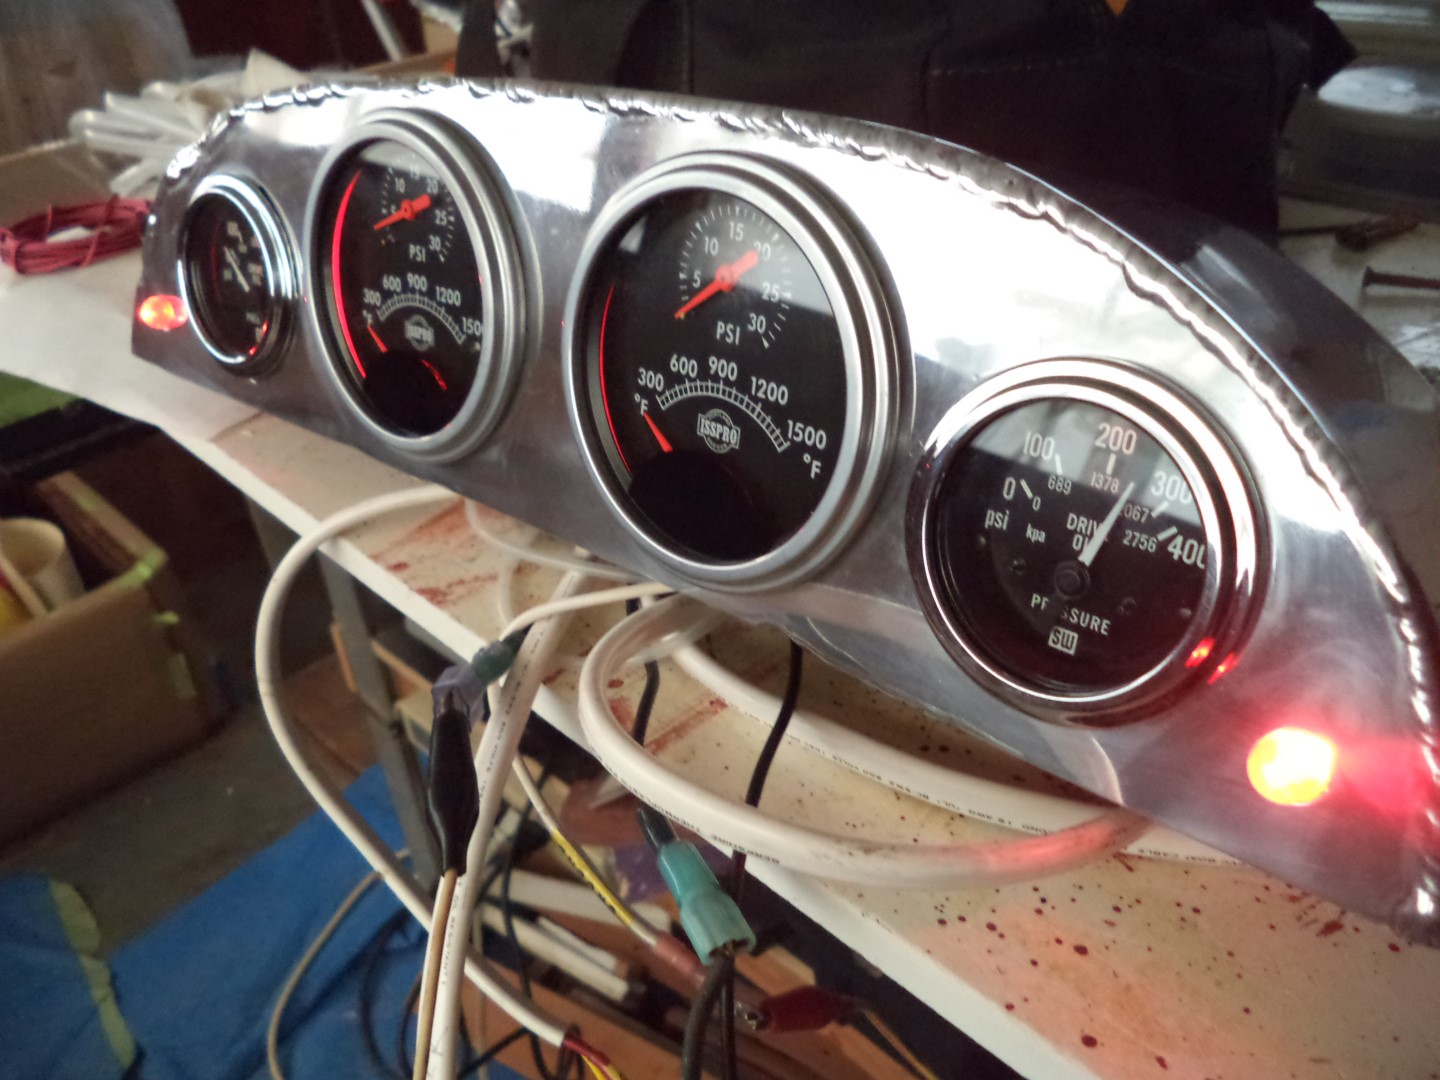
Ever since I installed the Cummins 6CTA engines, I've been keeping in the back of my head what I should do about the Isspro Turbocator (dual read-out boost/exhaust temp) gauges. I had a few ideas about replicating the OEM tachometer housings, but the more I thought about it that just didn't seem feasible. Then I decided I also want to know what my gear oil pressures are, so that's another two gauges I needed to find homes for. The helm station radio box is full, and having them down below the dashboard makes them fairly out of sight, which also means out of mind.
I was also keeping in mind that somebody prior to 1985, when the boat was moved to Purgatory Row, had drilled and cut an ugly rectangular hole right in the top of the dashboard, between the two tachometer housings. What if I could make a housing that fit all four gauges AND covered that big hole?!?
So I took some scrap 1/8" aluminum plate from when I cut up an old but unused holding tank that I bought for cheap and made a custom instrument panel. I also tossed in some LED telltale lights for the forward and aft bilge pumps. Don't stare too closely at the TIG welds...or if you do, please be gentle with the comments. Saying I'm a weekend warrior welder is a gross overstatement, and I taught myself how at a fairly advanced age, so I just don't have the robotic muscle memory of some pros I've seen.
On the other hand, I'd put my welds up against many of the so-called pros in my neck of the woods.
Anyway, I think it turned out pretty good, all things considered.
1969 Chris Craft Roamer 46 Refit: Making a Custom Instrument Panel
Cheers,
Q
-
Re: 1969 Chris Craft Roamer 46 refit
Really nice work. I love the Turbocators. (I only have them up on the bridge, but I very seldom run the boat from downstairs) This is a lovely piece of work you've done here.
-
12-12-2022 07:21 PM #1645
- Join Date
- Nov 2008
- Posts
- 1,677
-
Re: 1969 Chris Craft Roamer 46 refit
Are your shifters and throttles Morse? I had these made for some friends who own Chris Crafts. If you do Id like to send you a set for free. If you like them tell all your friends. Let me know and PM me with your address.
SEVEN
1979 53' MY Hull #563
Antioch, California
-
12-16-2022 02:55 PM #1647
- Join Date
- Nov 2008
- Posts
- 1,677
Re: 1969 Chris Craft Roamer 46 refit
Those look great, Rusty! I responded to Dan's email with the info you requested.
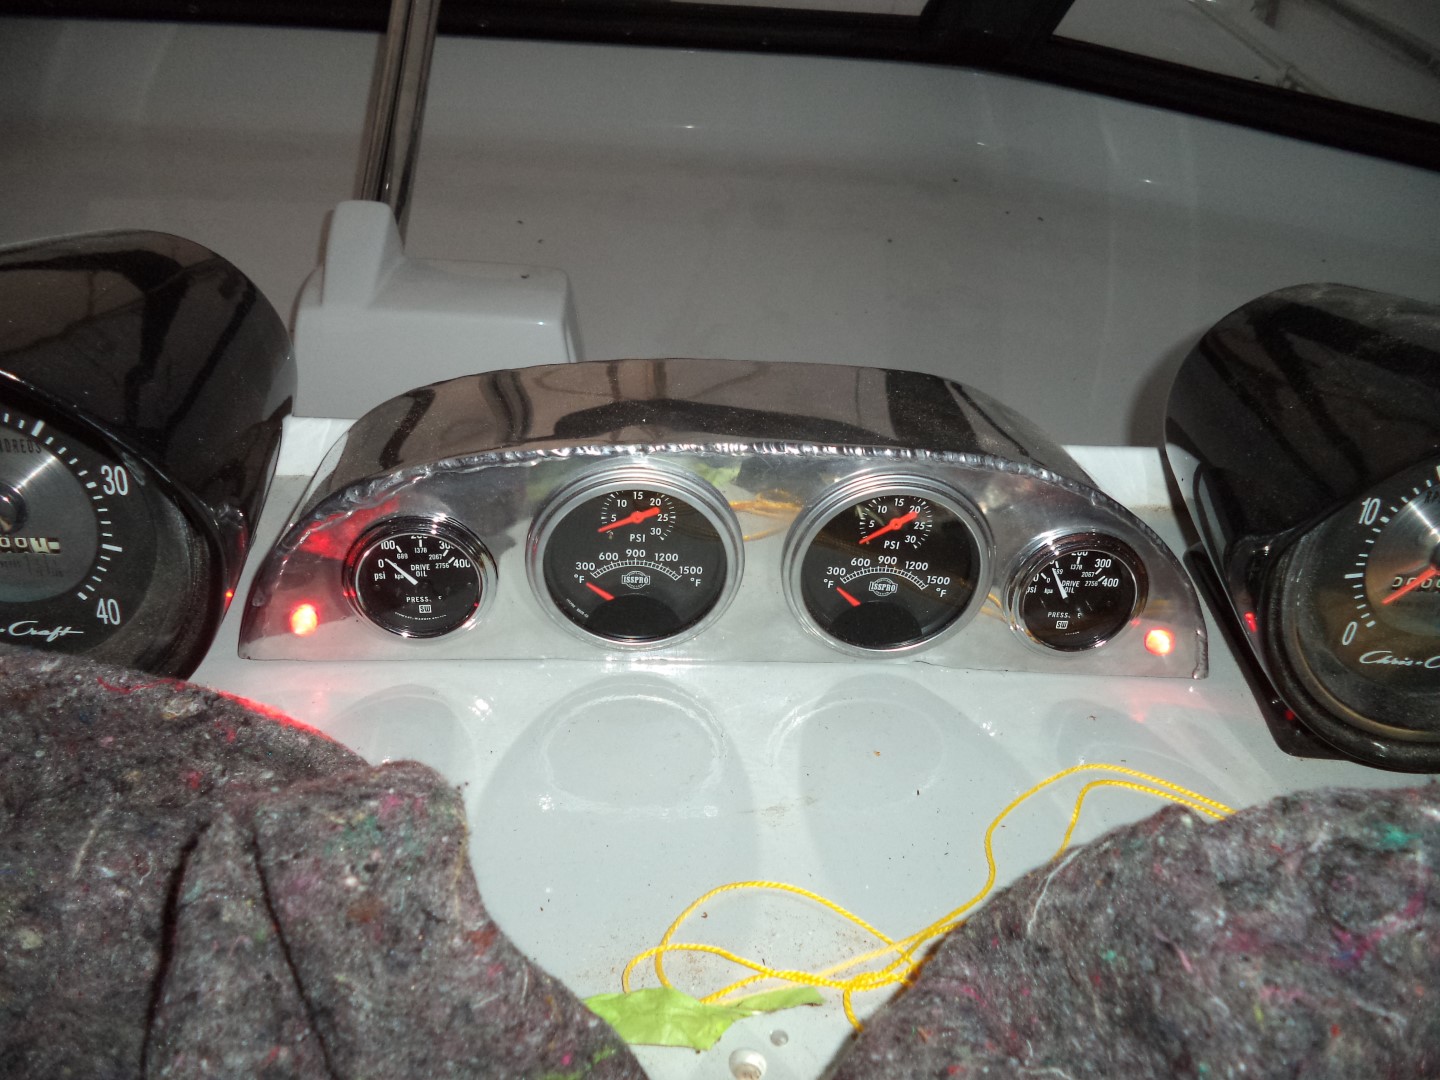
While I was running the wires and boost tubing for the new instrument panel I made, I also cleaned up and labeled the OEM wiring. If you've got a schematic to look at, I'm sure numerical wire identifiers make sense. But intuitive labels so you can know what you're looking at with a glance is a lot better. Once that was done, I installed the instrument panel, turned both keys to RUN so the gauges had power, and switched the bilge pumps to CONSTANT, which means they're manually switched on. Up at the helm station, the gear oil gauge needles dropped to zero, which is where they should be with ignition on, and the bilge pump telltales were on.
It works!
1969 Chris Craft Roamer 46 Refit: Installing the Custom Instrument Panel
Cheers,
Q
-
12-18-2022 02:12 PM #1648
- Join Date
- Nov 2008
- Posts
- 1,677
Re: 1969 Chris Craft Roamer 46 refit
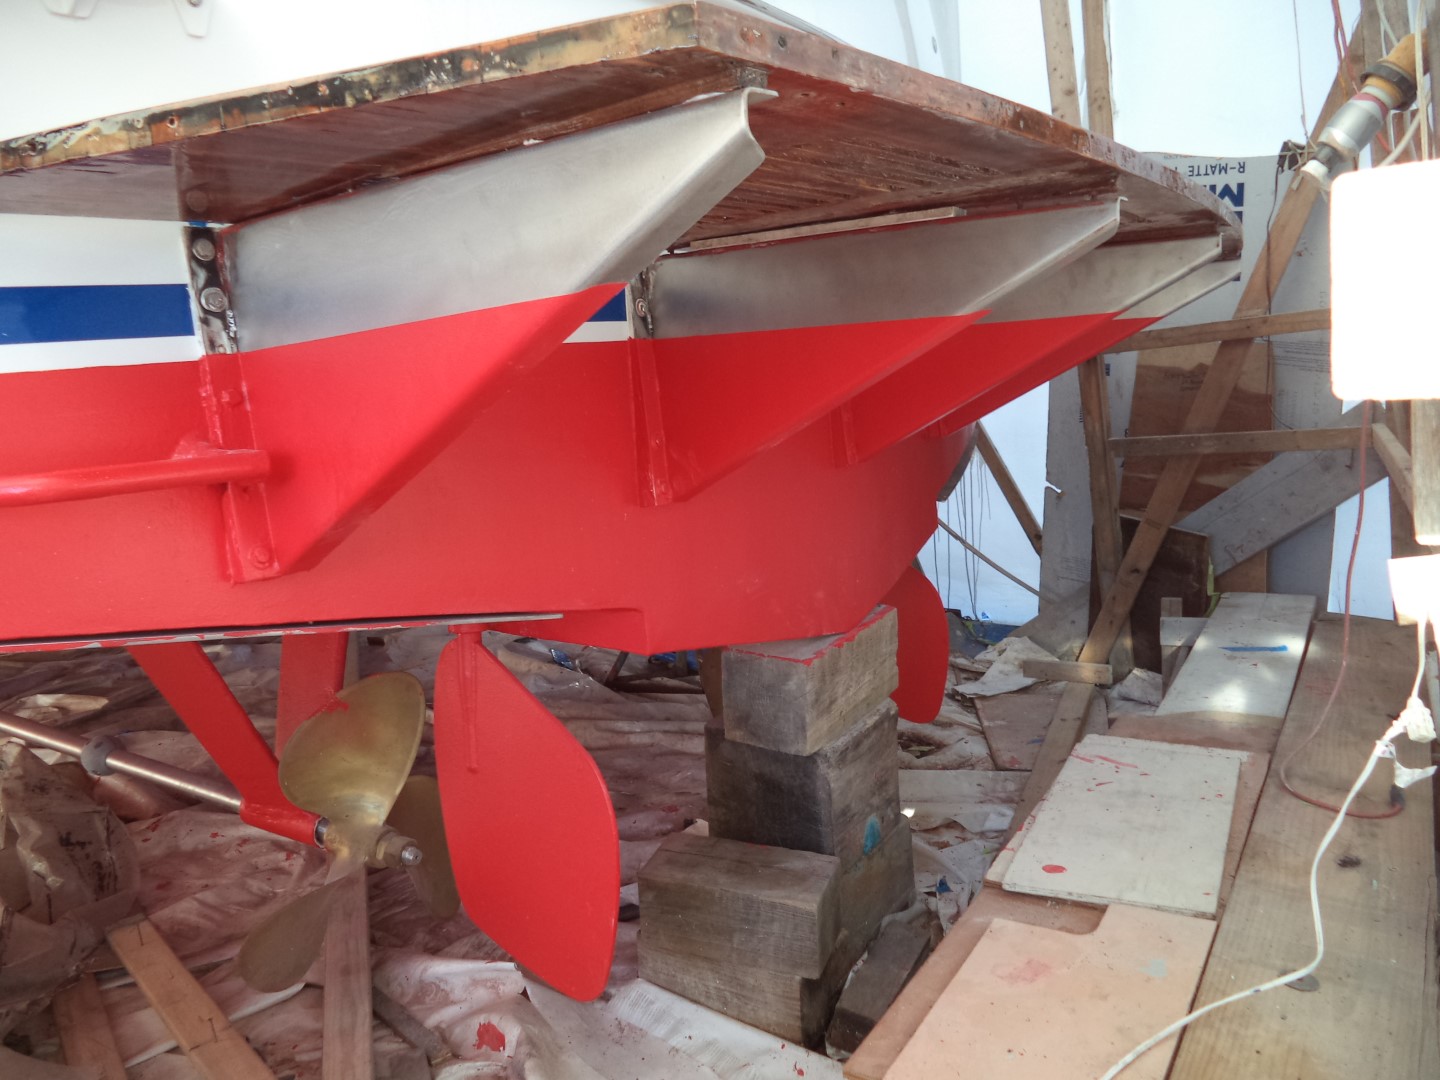
With all but three holes buttoned up below the waterline, it was time to roll on some new bottom paint. While sanding in preparation for paint, we found another crack in that very expensive Interlux epoxy filler used by the first "marine craftsman" I had work on the boat. Once again, we don't know if it was faulty product or bad mixing, but the crack happened in a low-stress area with no welds in the region. My painter fixed the crack just fine, and I'm glad we found it; it was 95% below the waterline, so splashing would have allowed water to get under the paint and filler and spread havoc.
Anyway, two coats later (three from the chine up), it looks great!
To make space to paint the transom, and since we don't need it anymore, I removed all of the scaffolding behind the transom. This is all good progress toward splashing before long.
1969 Chris Craft Roamer 46 Refit: Bottom Paint
Cheers,
Q
-
12-21-2022 08:13 AM #1649
- Join Date
- Nov 2008
- Posts
- 1,677
Re: 1969 Chris Craft Roamer 46 refit
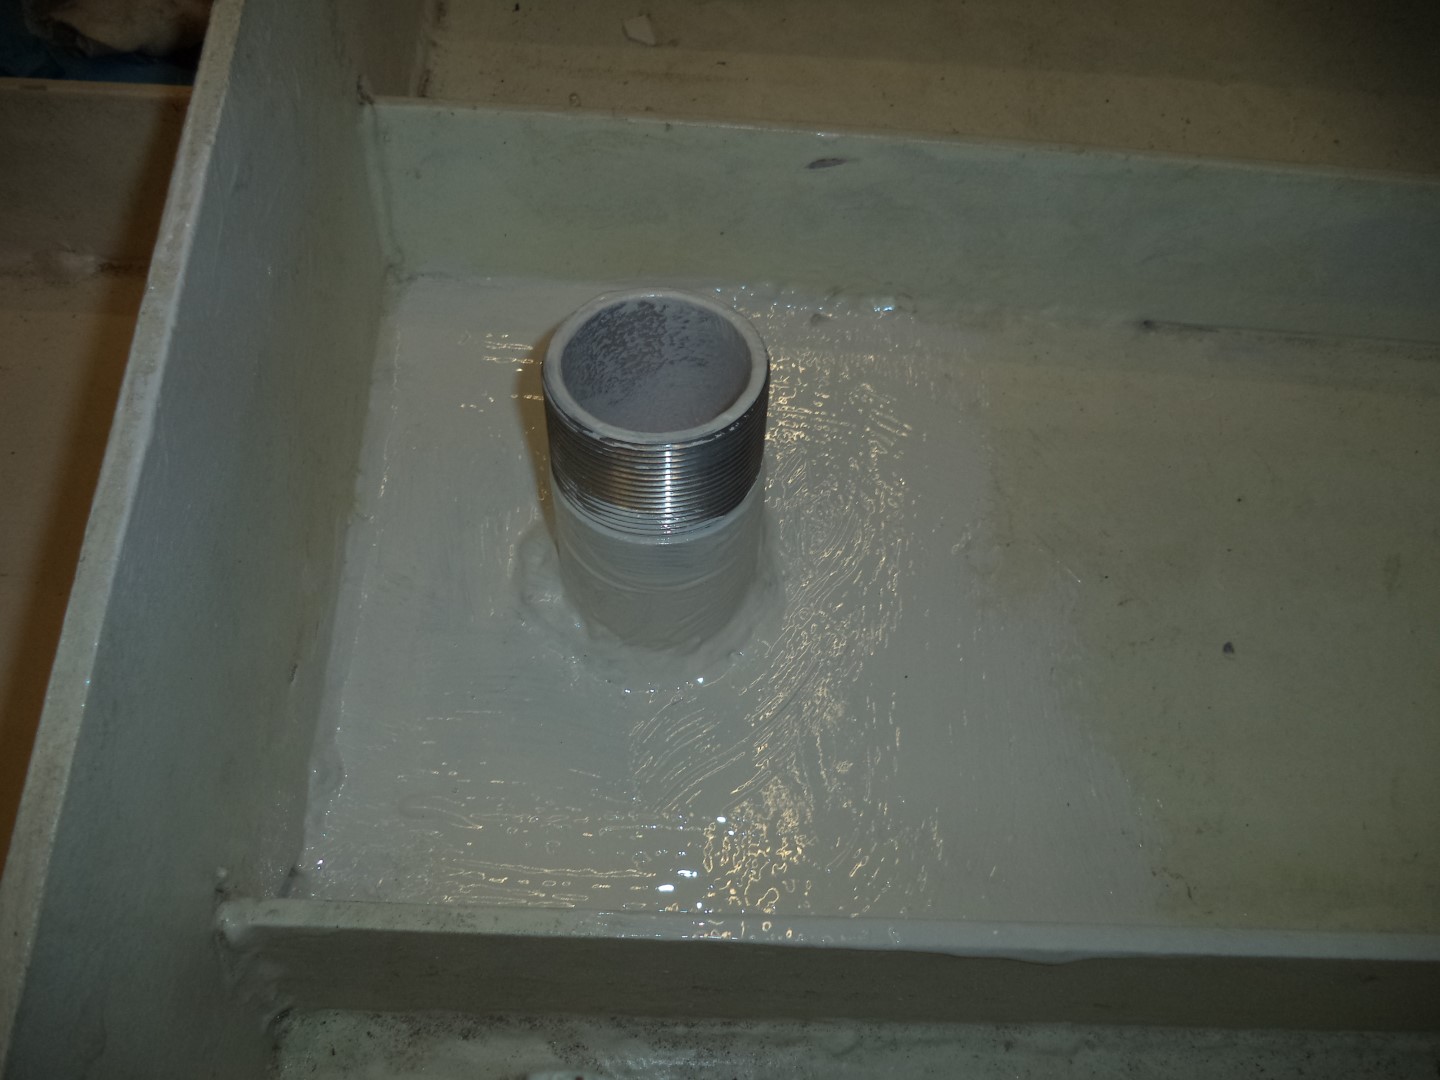
The one thing that's absolutely got to be done before the boat can splash is to close up all of the holes below the waterline. The only holes remaining are the biggest ones: the raw water intakes for the Cummins 6CTA main propulsion engines. I had the new 2" intake pipes threaded by an incompetent and expensive dude a couple years ago. I recently realized he machined them with National Pipe Tapered threads, when the valve that threads onto them is NP Straight. So I took them to another machinist and had them rethreaded to NPS. I cut them to match the angle of the hull, then used my Miller Trailblazer 280NT and Spoolmatic to weld them from the outside. On the inside, I used my AlphaTIG and the homemade torch cooler I wrote about recently. After wire brushing the pipes inside and out, I applied two coats of Bar Rust 235 barrier coat and topped that with two coats of Pettit Vivid bottom paint, including inside the standpipes.
This is a big step toward getting the boat back in the water.
1969 Chris Craft Roamer 46 Refit: Main Engine Raw Water Intakes
Cheers,
Q
-
12-23-2022 02:07 PM #1650
- Join Date
- Nov 2008
- Posts
- 1,677
Re: 1969 Chris Craft Roamer 46 refit
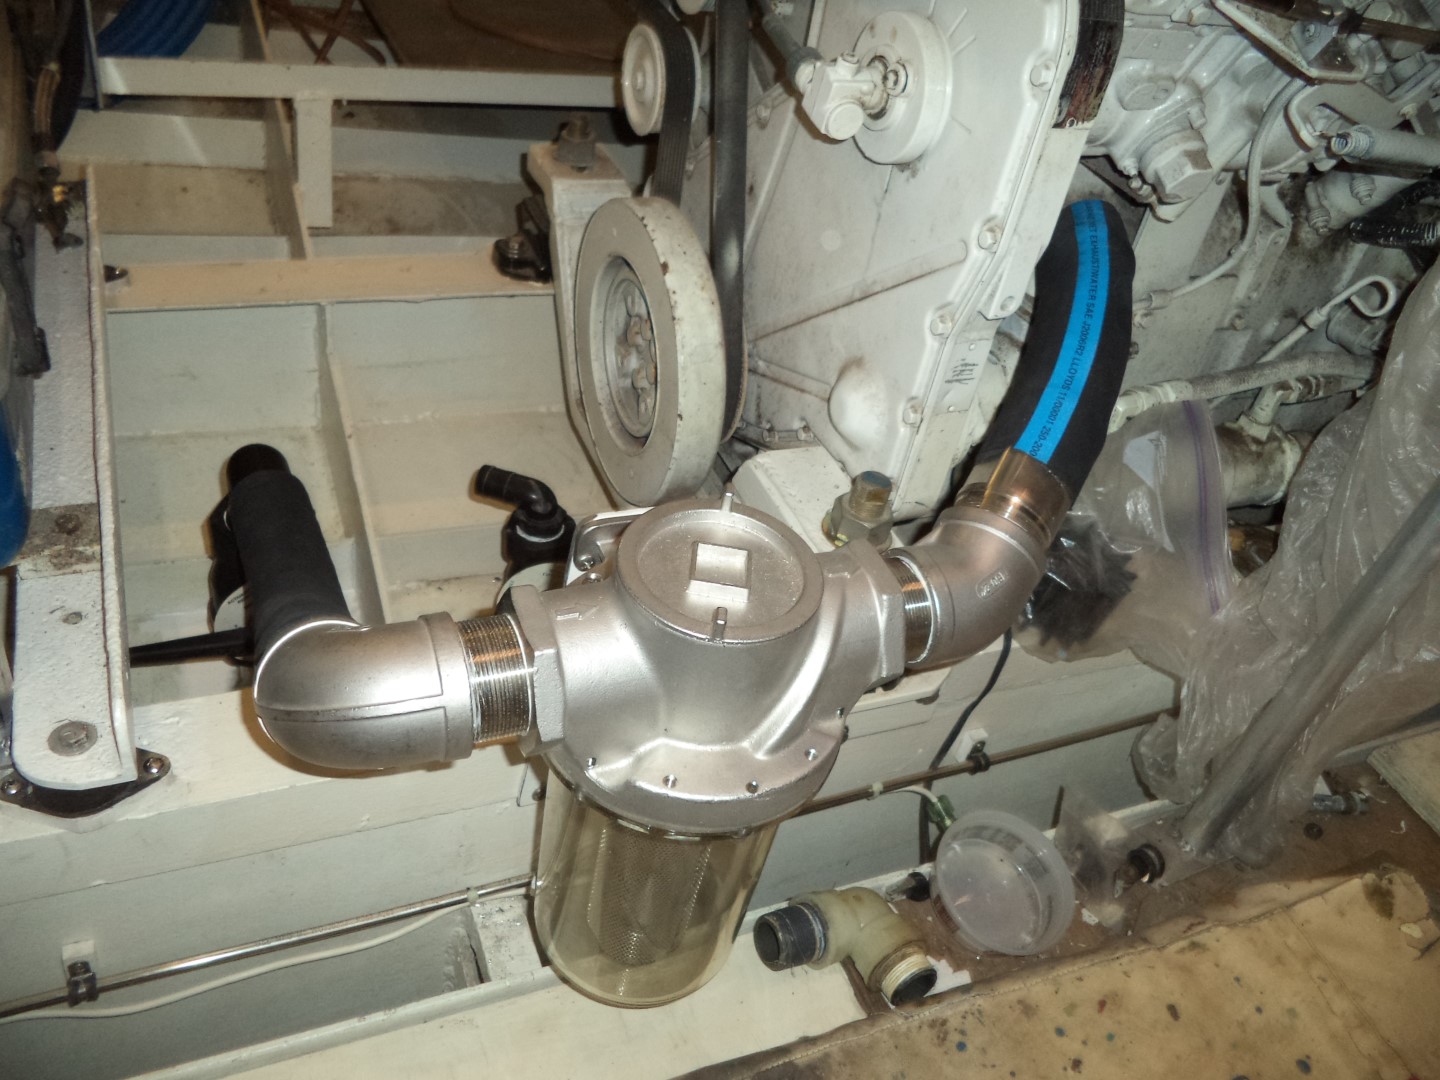
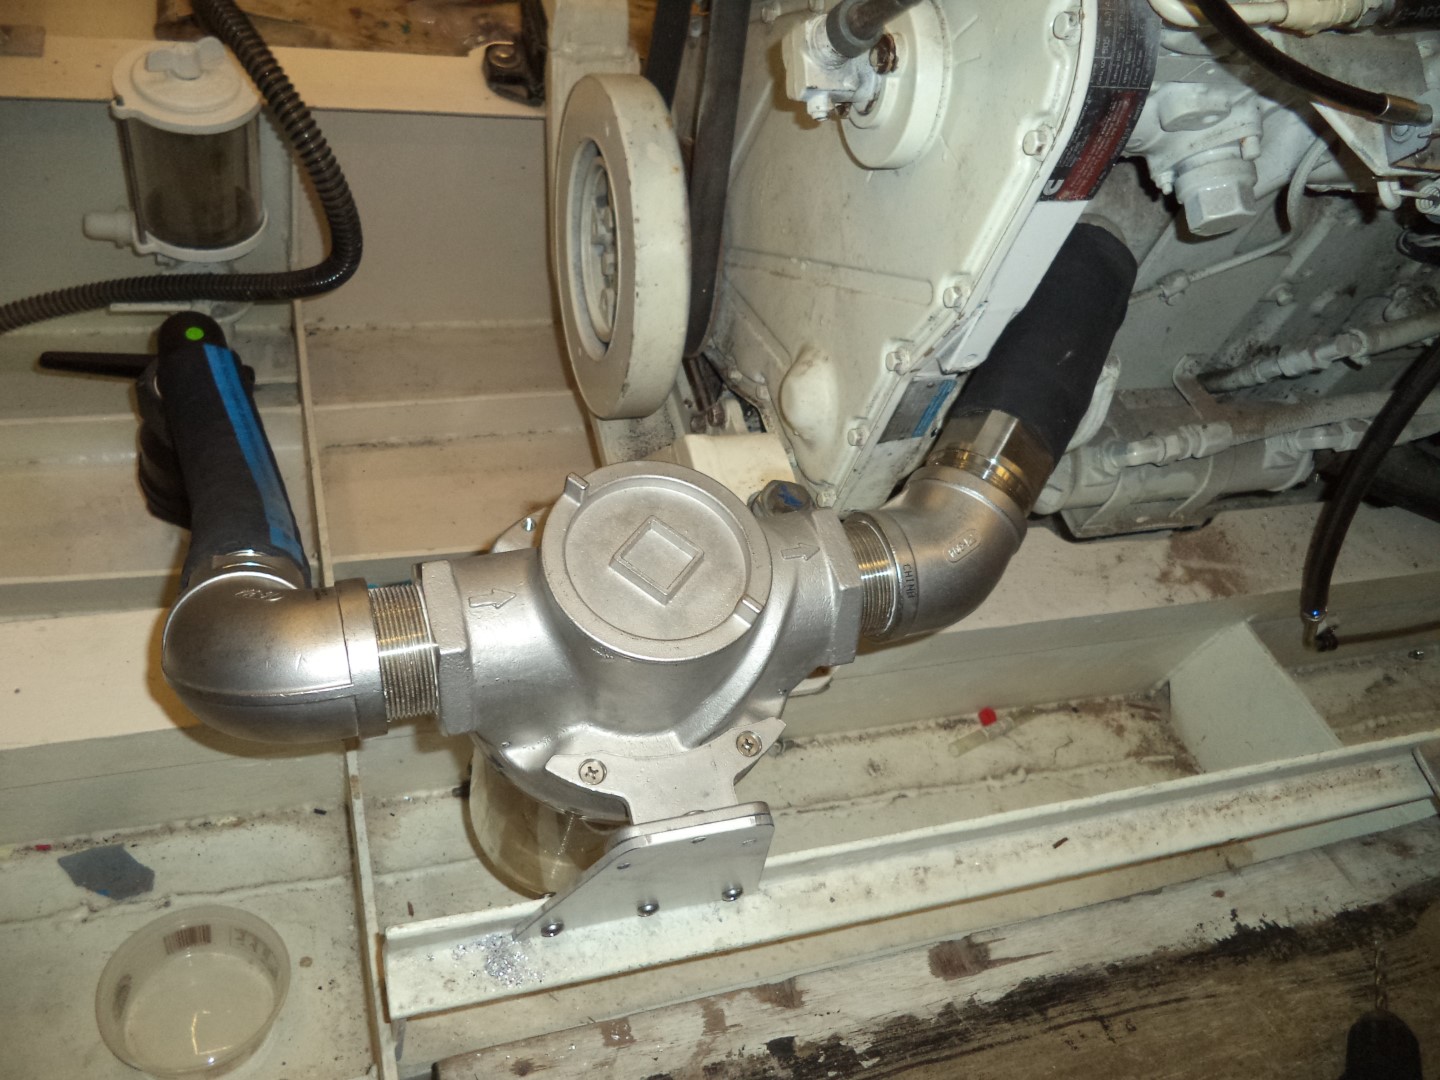
With the main propulsion engine raw water intakes finally welded in, next I installed the valves, strainers, and hoses. And that seals up the last of the holes below the waterline. With the exception of small details, like hose clamps and a few nuts and bolts, the boat could be splashed right now if I had to. But it's forecast to be 9°F for a low tonight and very cold through the end of 2022, so I plan to keep it in the tent and continue knocking out other priority parts of the project.
I did have a couple of hitches I ran into while installing the strainers (how could I not?!?!?) that I go into in more detail in the linked article. The worst were manufacturing defects in a brand new acrylic sight glass that resulted in cracks. Worse still is that the manufacturer, Buck Algonquin, is no longer in business. So I'm hoping my MacGyver solution will hold up for at least a few years.
In any case, this is great progress.
1969 Chris Craft Roamer 46 Refit: Installing Raw Water Intake Valves and Strainers
Cheers,
Q
 Reply With Quote
Tags for this Thread
 Posting Permissions
- You may not post new threads
- You may not post replies
- You may not post attachments
- You may not edit your posts
